Aquaponics Project, part V, Air, Heat and Light
Ok, so, now with the plumbing in place, I need to add a few other bits of infrastructure, namely an air pump and airstones for aeration, some aquarium heaters to keep the temperature up on cool nights (not a problem now, but will be needed as the weather gets cooler), and some lighting to help see the fish, and promote a normal day/night cycle for the fish.
The most important part is the aeration. While the draining of the growbeds provides some oxygenation, and the spraybars provide more, it's a truism in aquaponics that "the only way you can put too much air into your water is if you are physically blowing the fish out of the tank". The main reason here is that these tanks are set up for warm-water fish, and being outside in the summer, the water will be plenty warm (80-90 deg F). The warmer water is, the lower it's ability to hold dissolved oxygen. Consequently, some serious aeration is called for. Also, the spraybars and airpump provide redundancy incase of a pump failure, hopefully if one fails the other will at least provide enough oxygen to keep the fish alive.
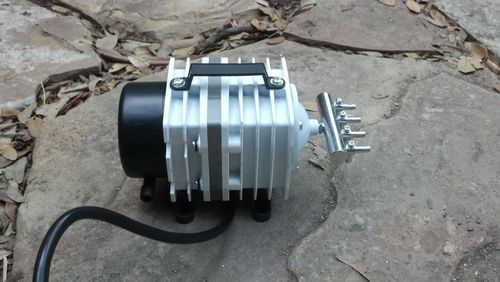
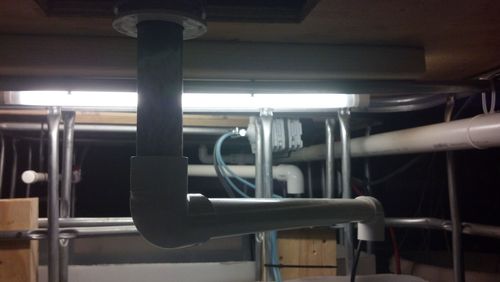
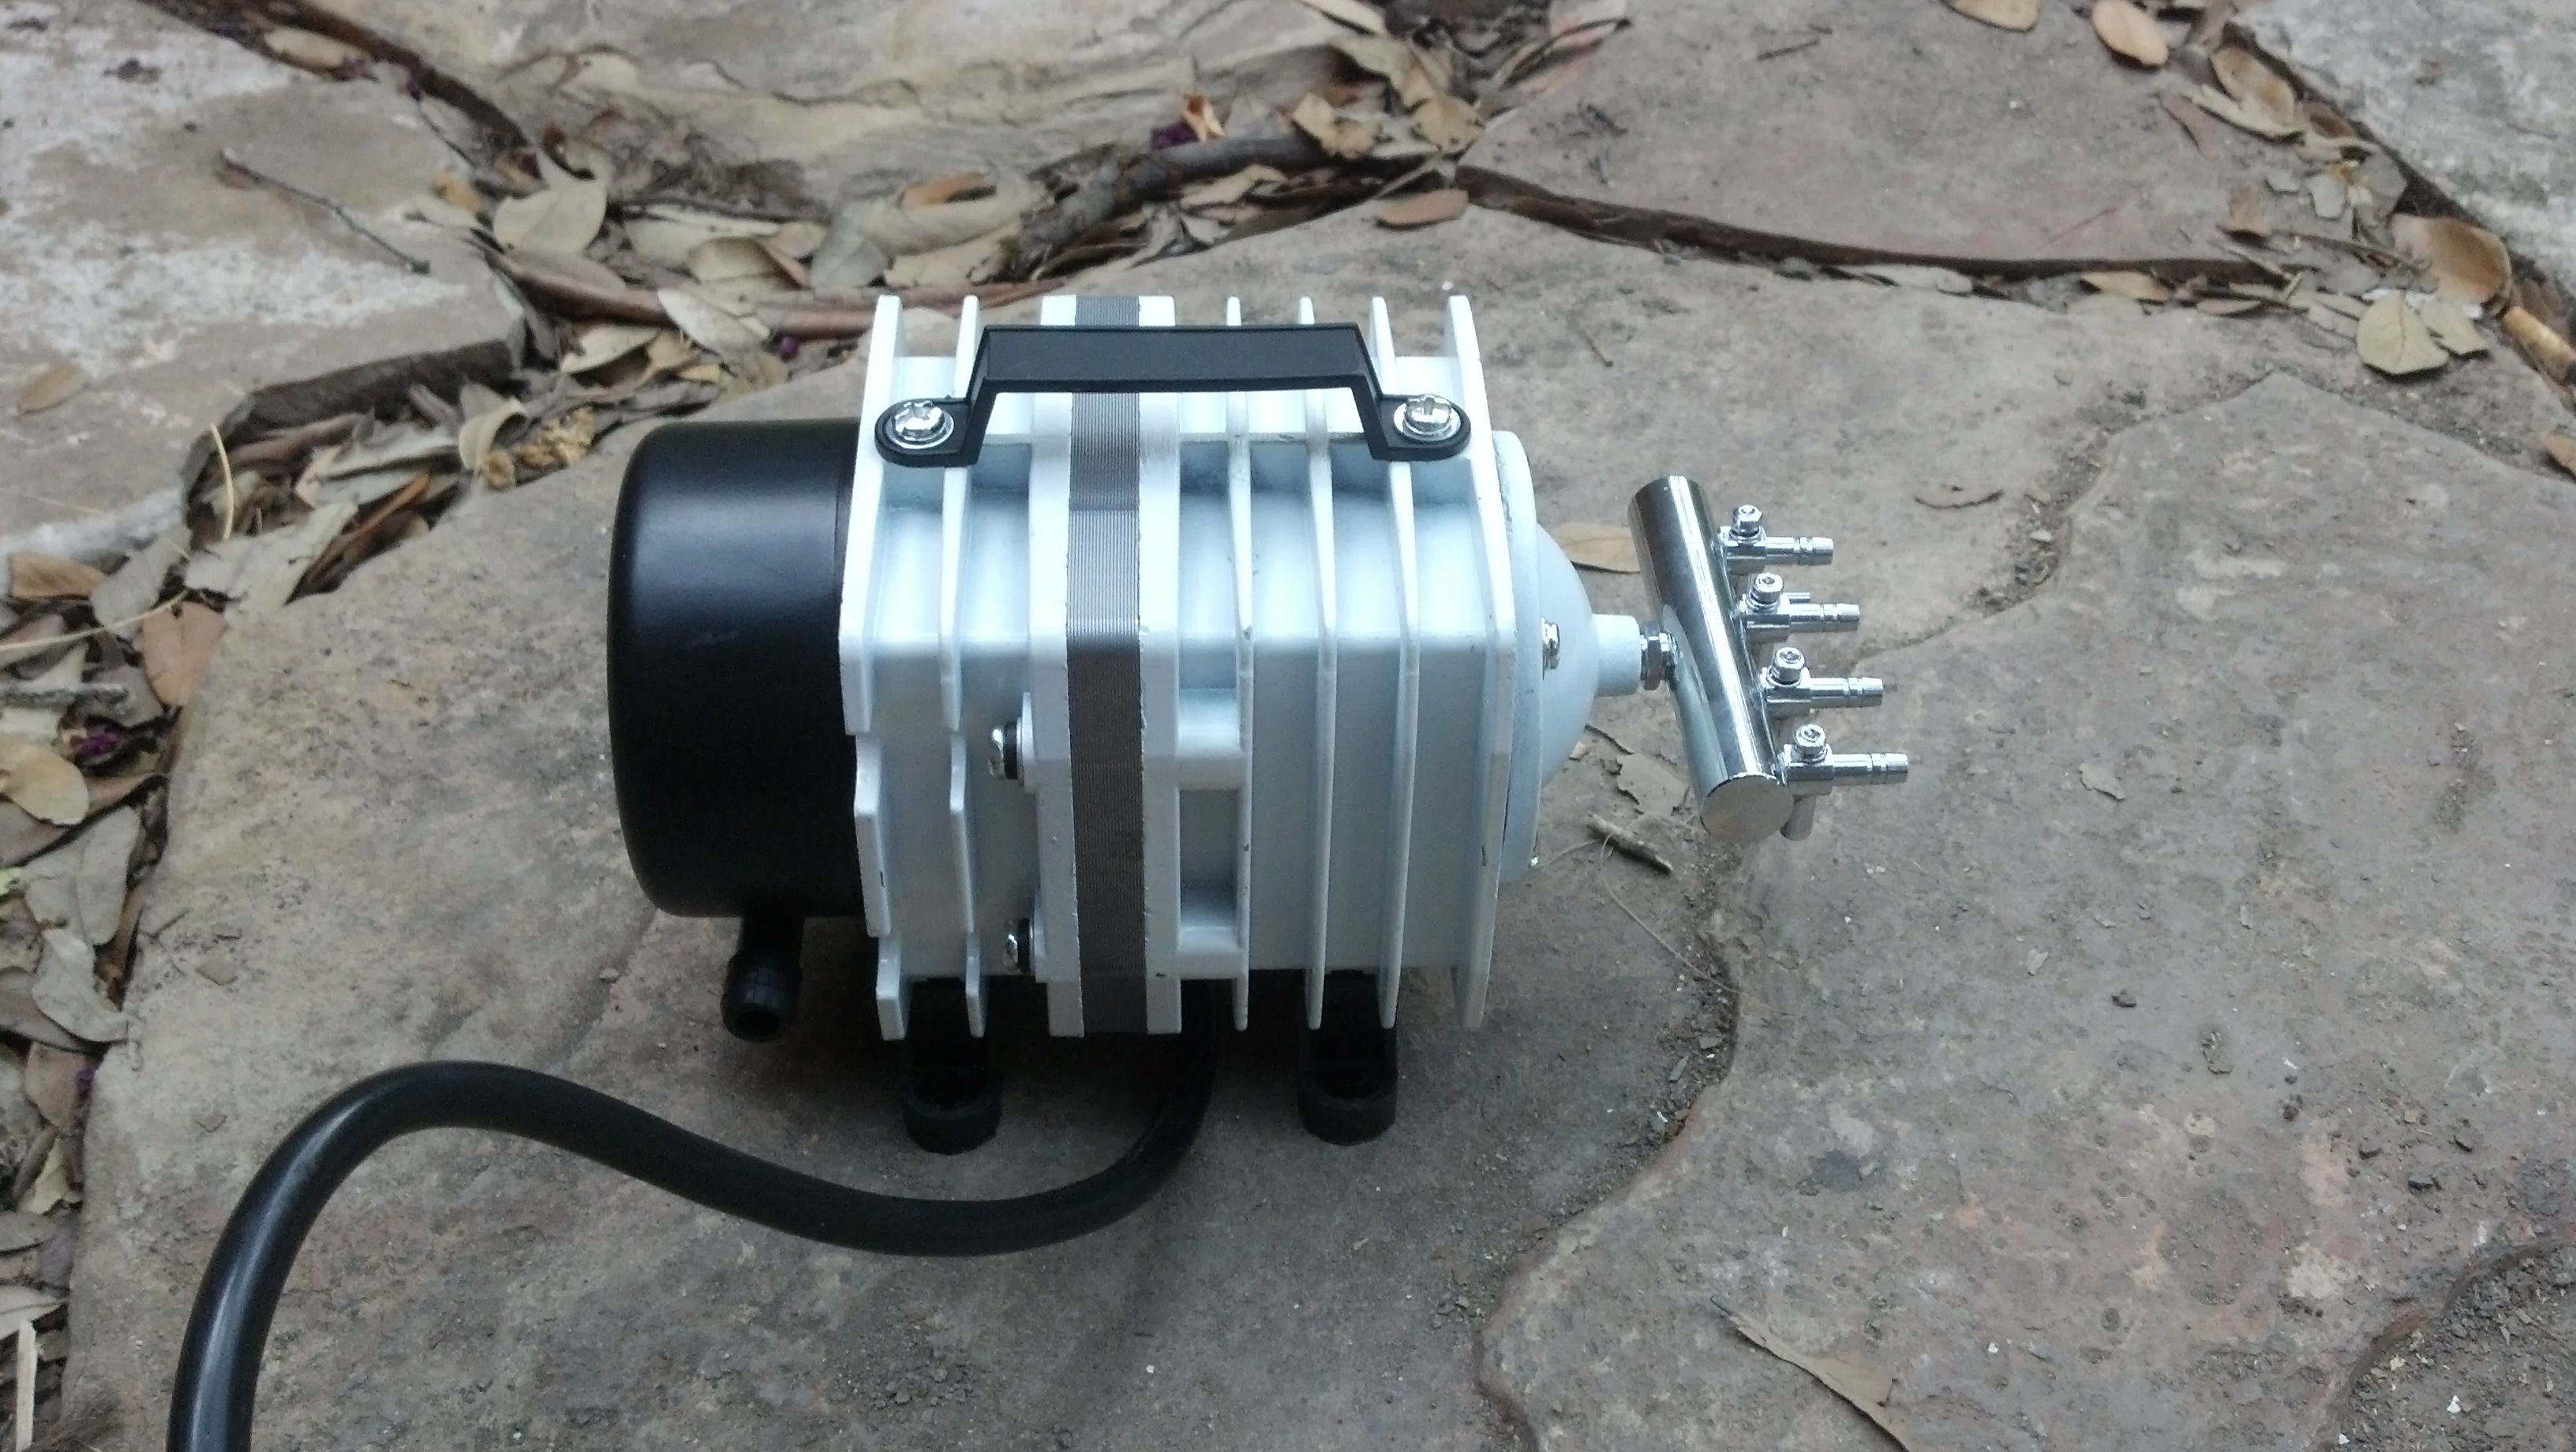
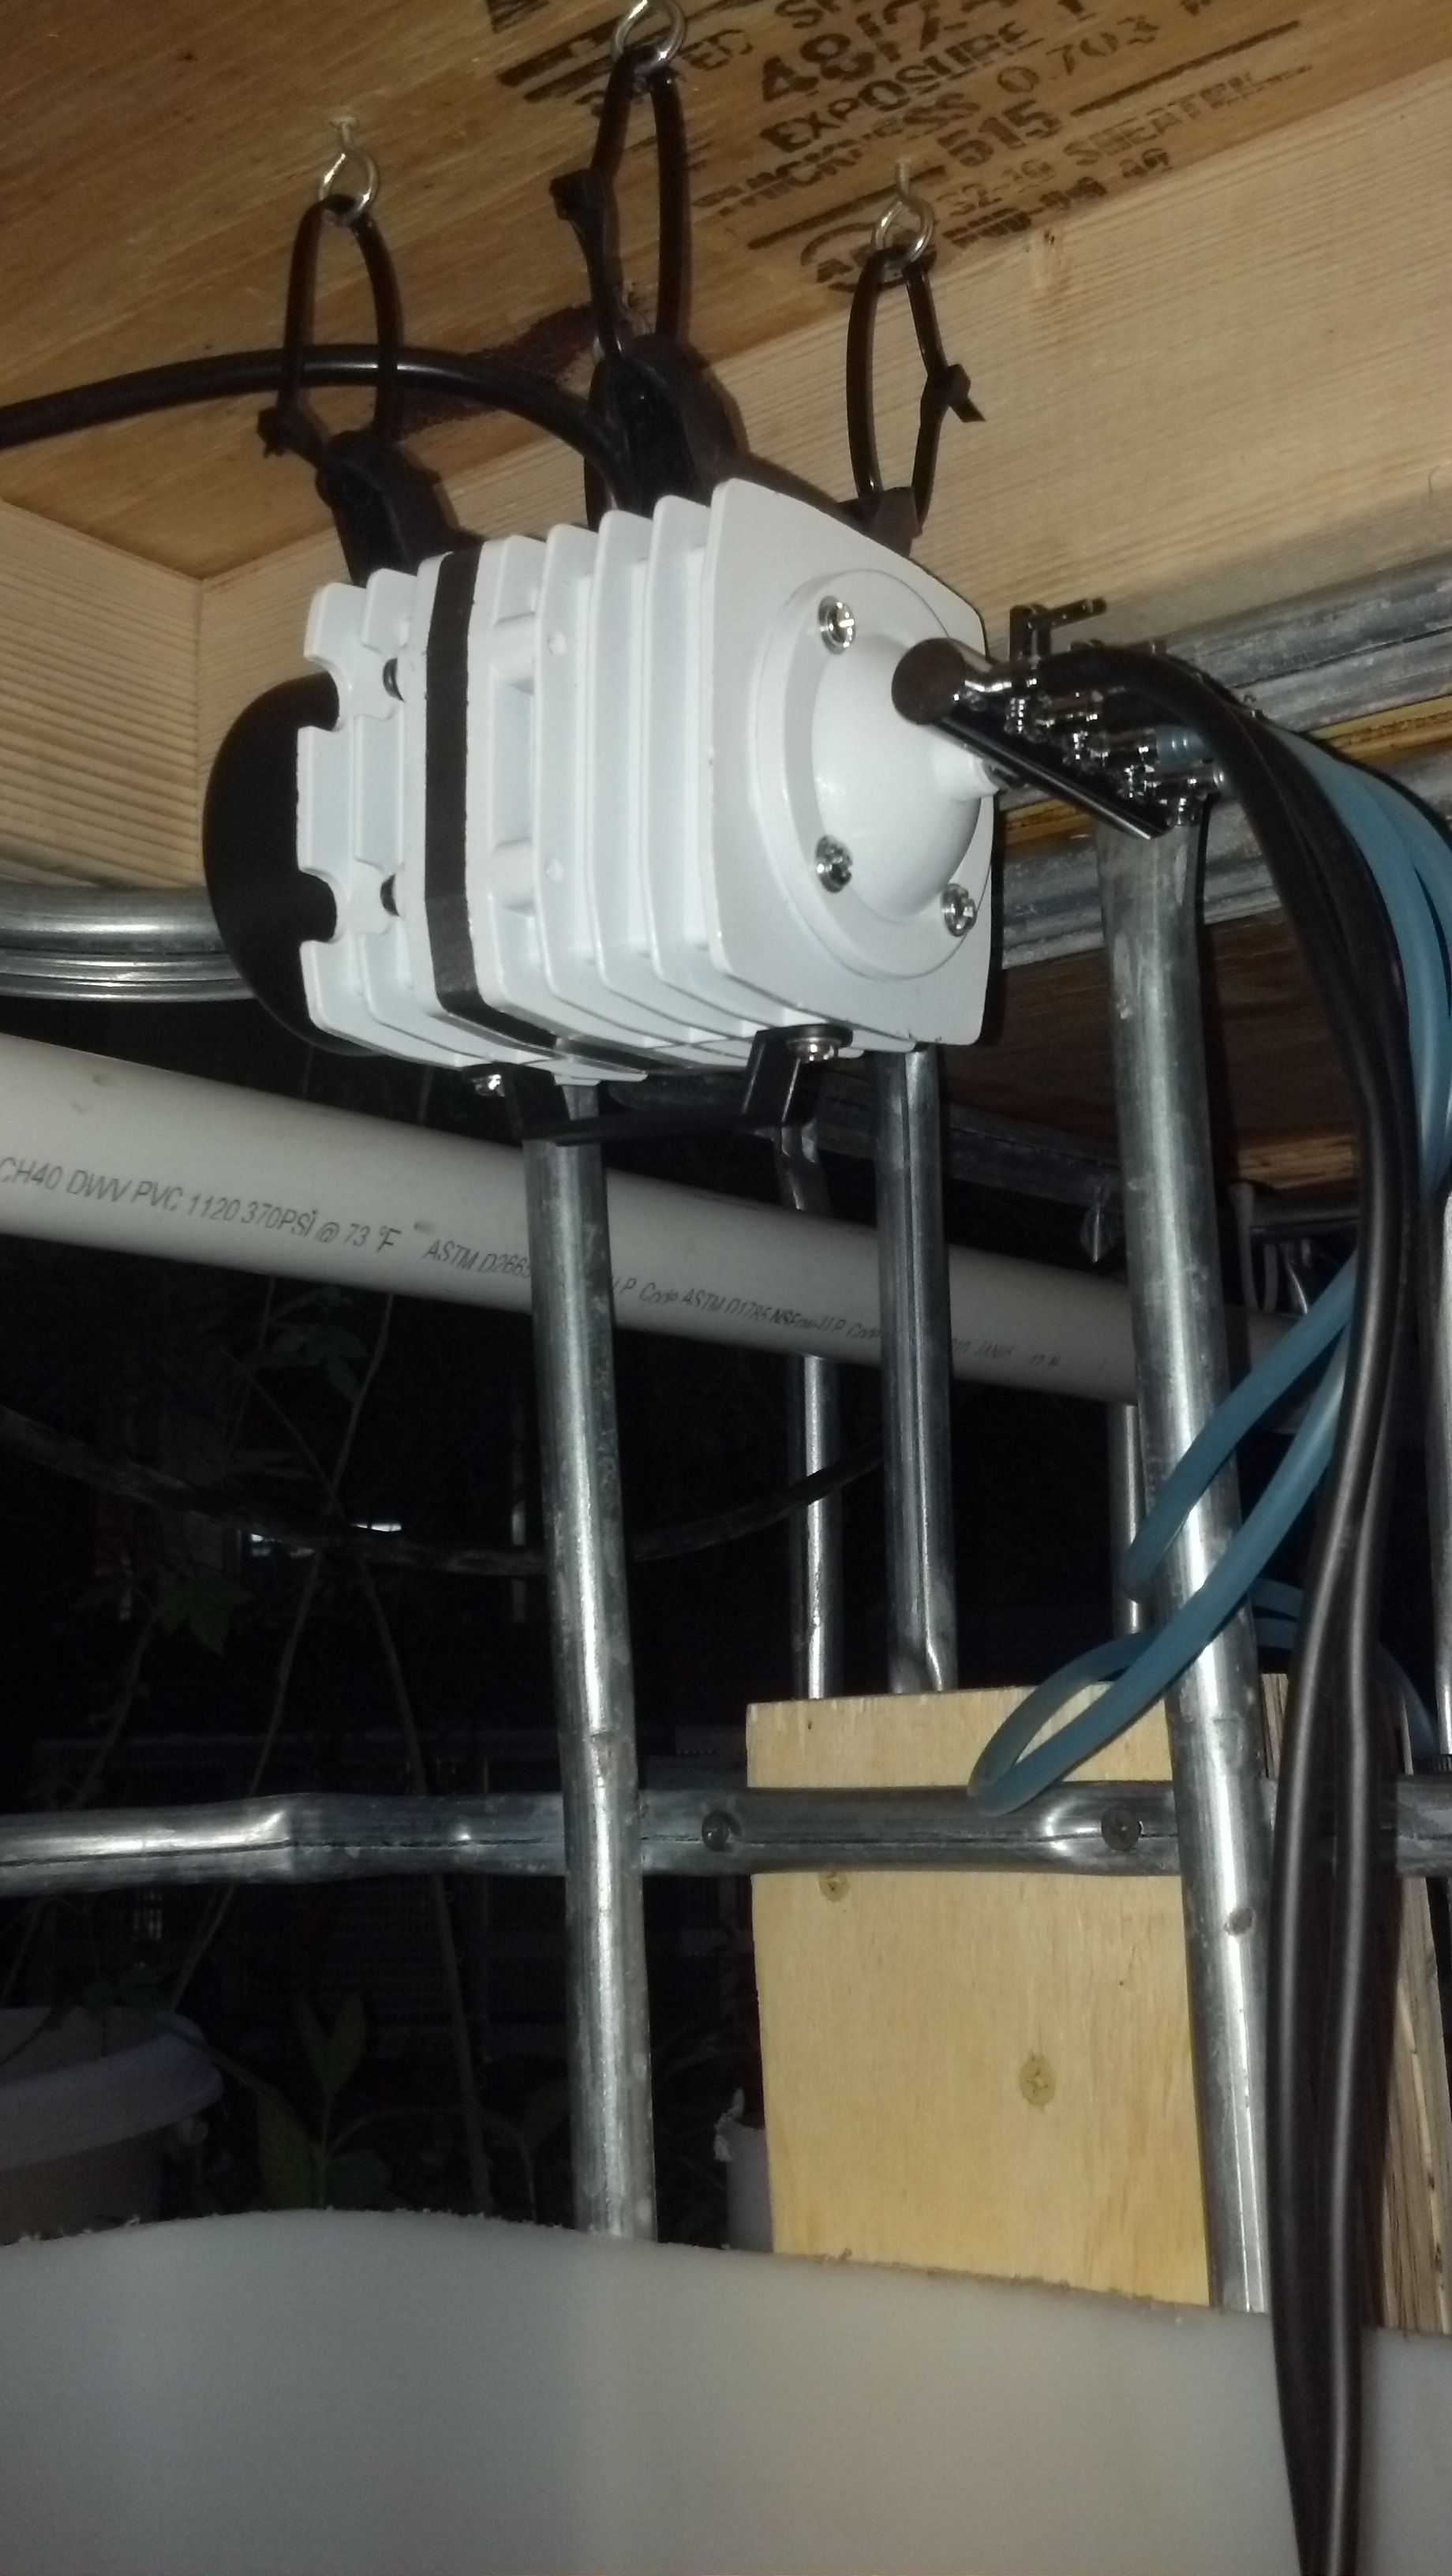
The airpump in this case is a commercial-grade CoralLife SL-65 deep-water airpump. These tanks are almost three feet deep, so your garden-variety aquarium pump probably won't cut it. The pump is mounted suspended upside-down from the underside of one of the growbeds by a makeshift suspension mount made of nylon zip-ties run through holes in the rubber "feet" on the bottom. This sucker is not quiet, and this mounting helps dampen the vibrations:

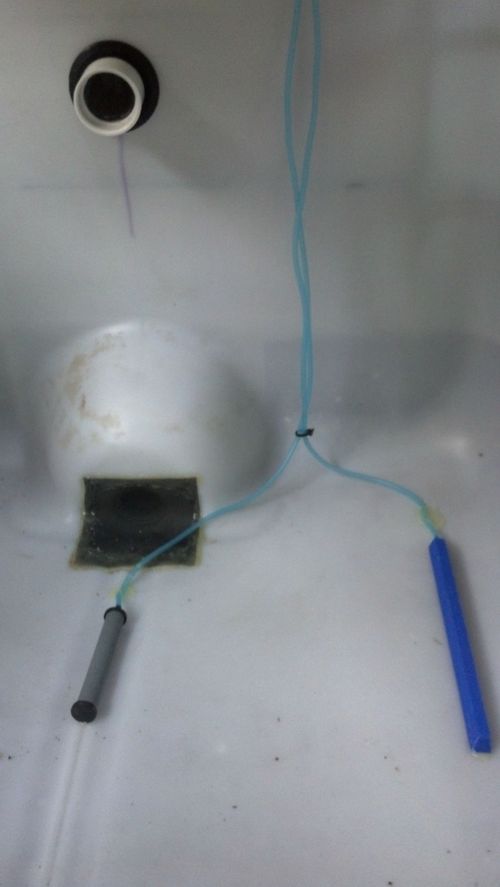
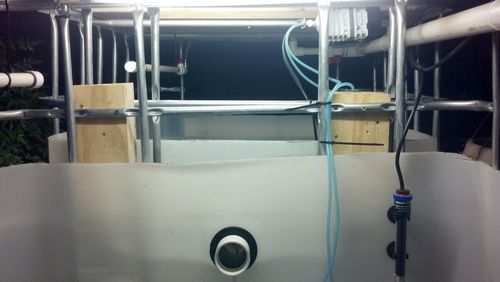
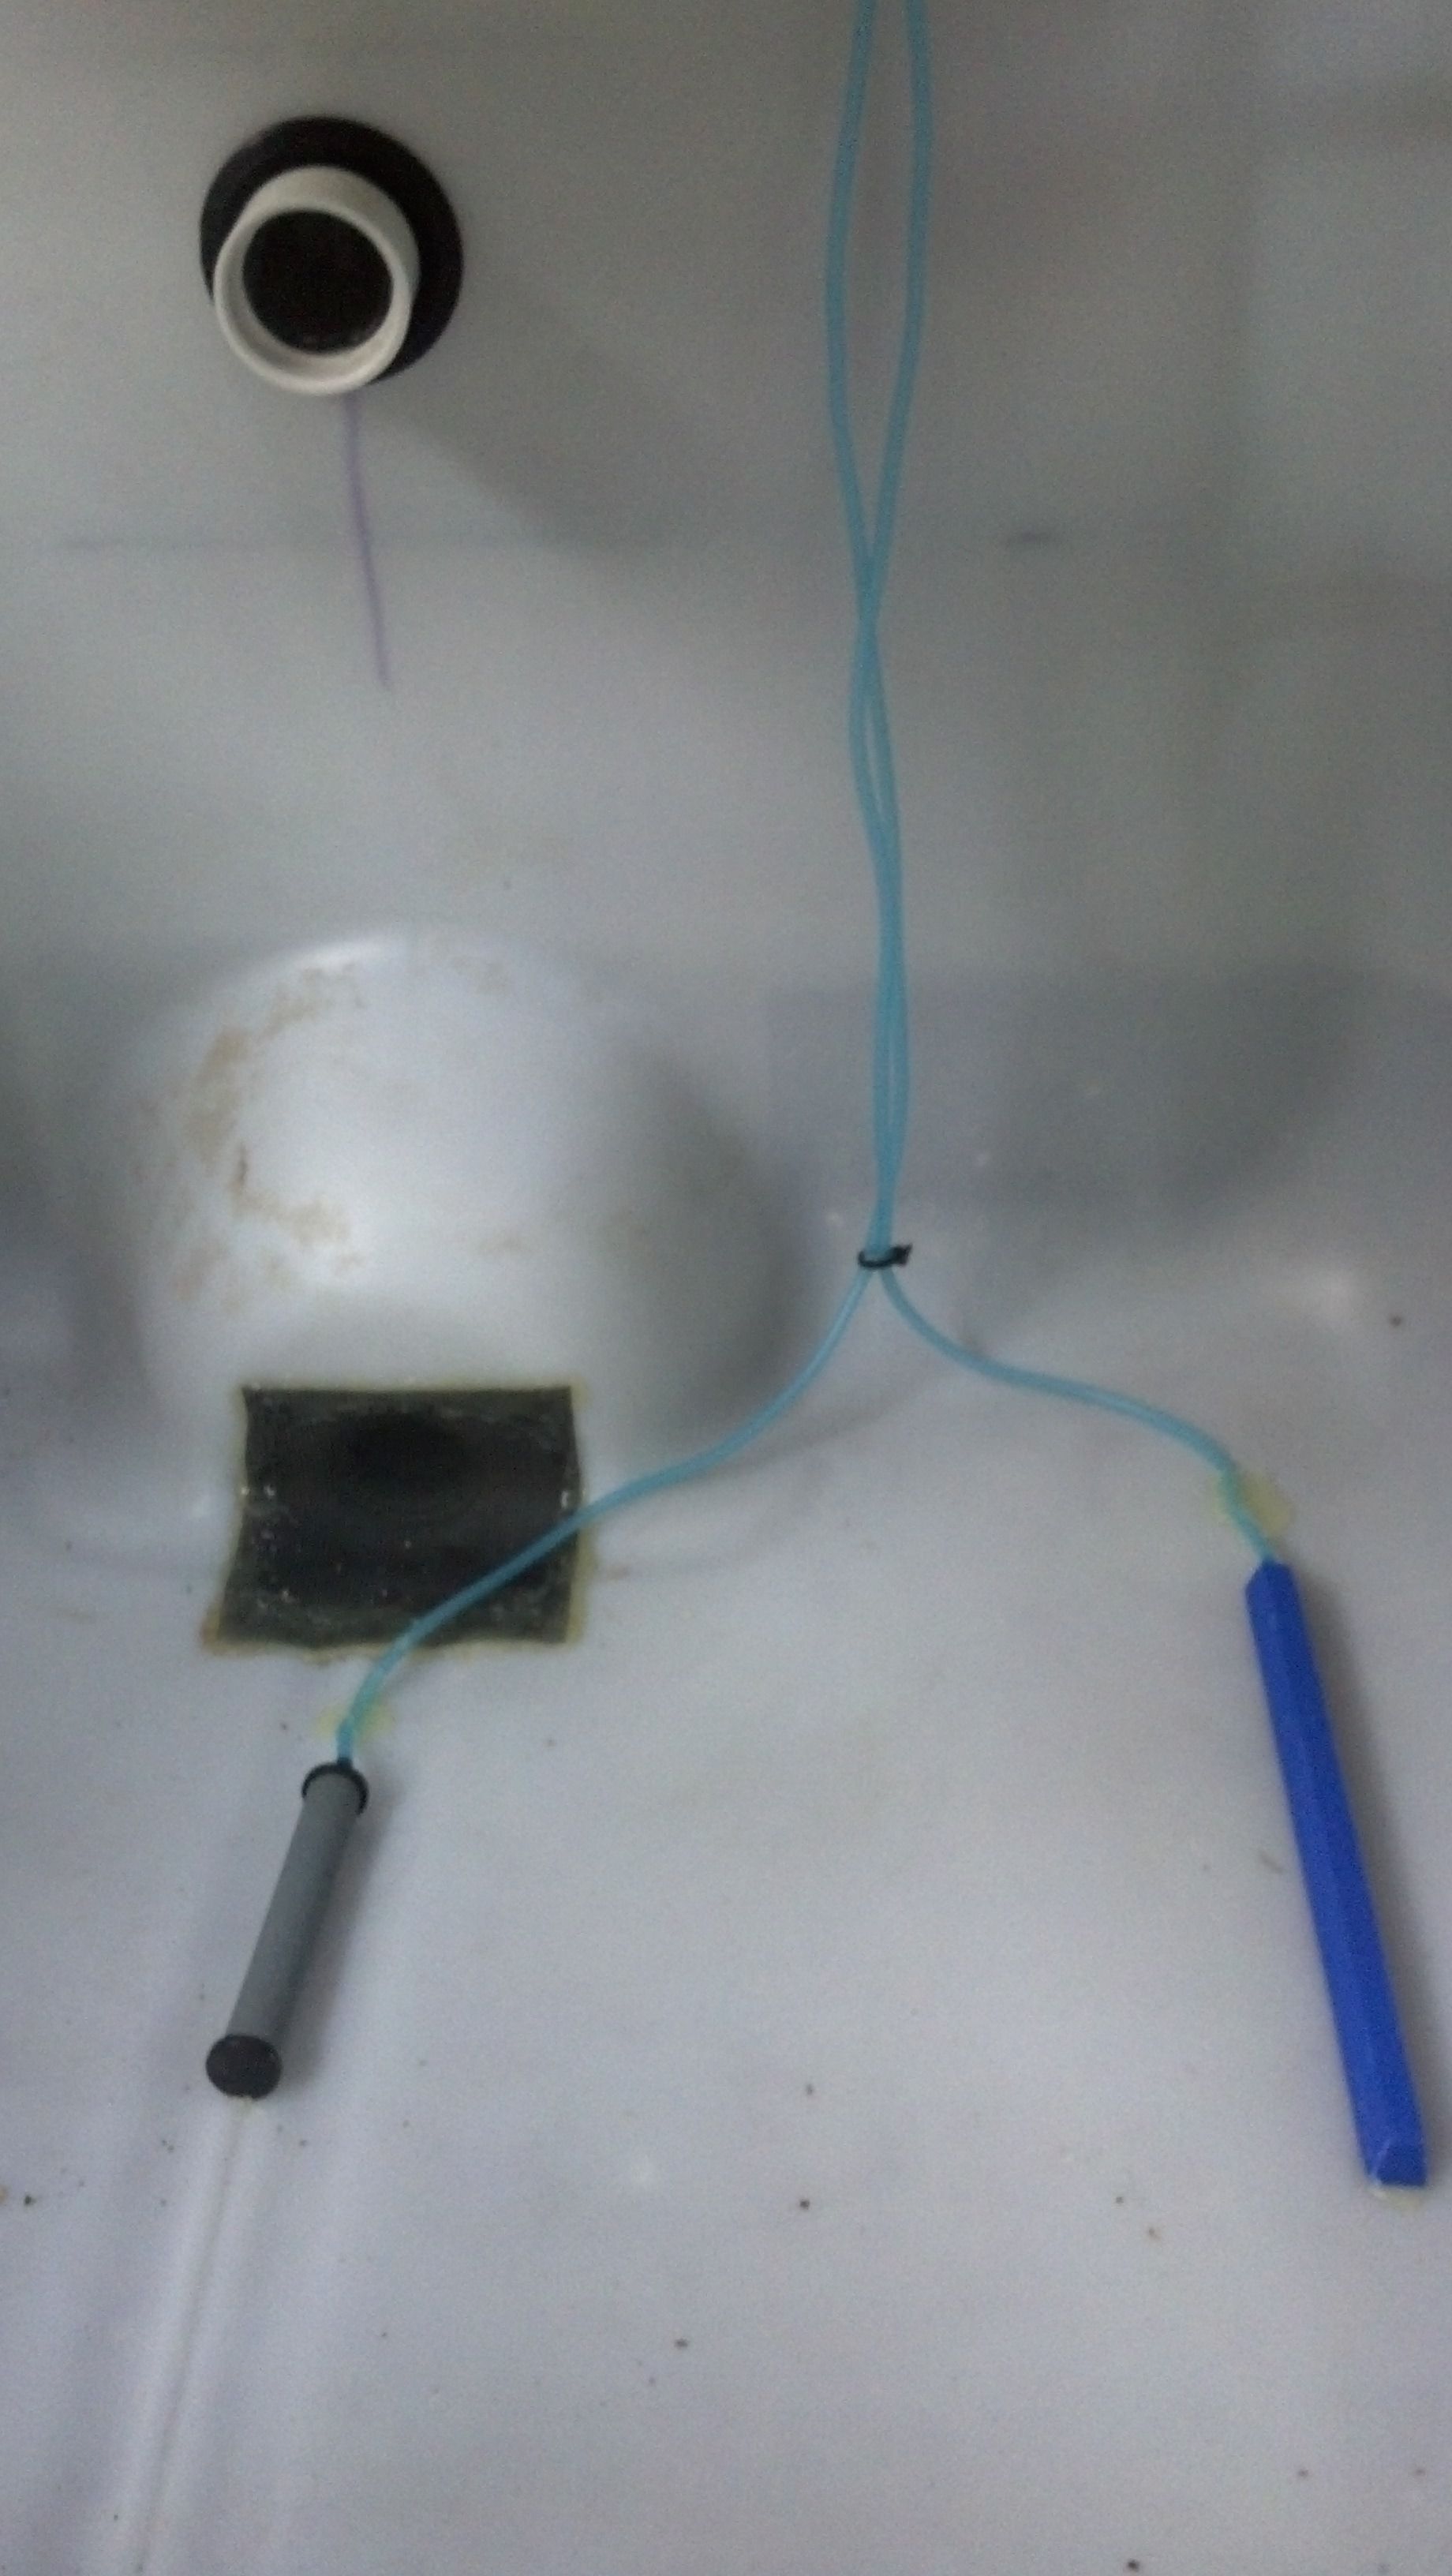
The pump feeds four large airstones, two in each tank. One of them is a standard-variety airstone (the blue one in the photo), the largest I could find (18 inches), the other is a 'micro-bubble' airstone that produces smaller bubbles with more surface area for more effective aeration:
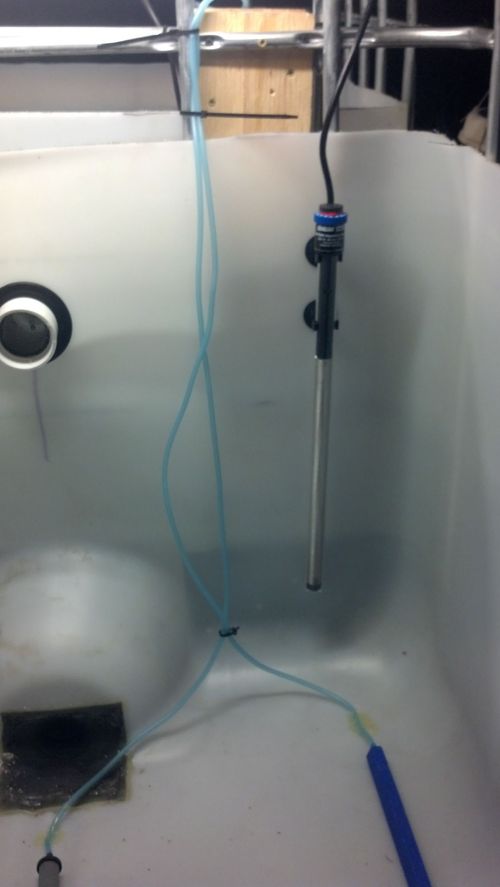
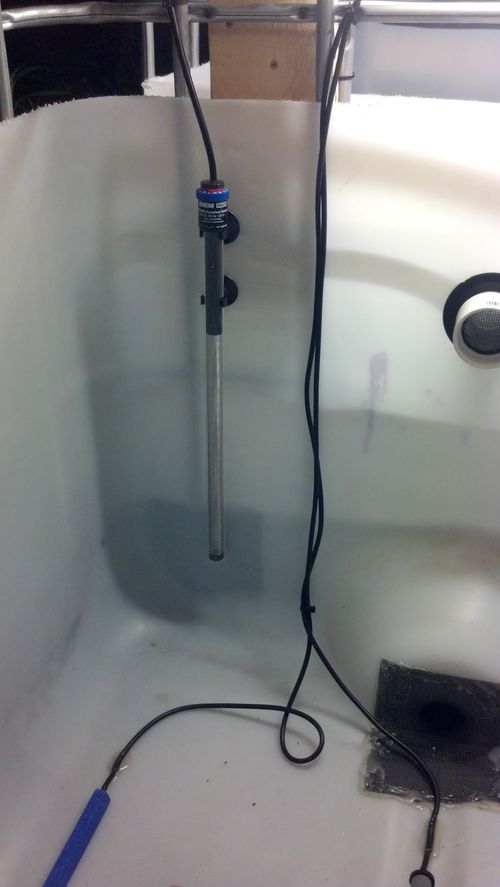
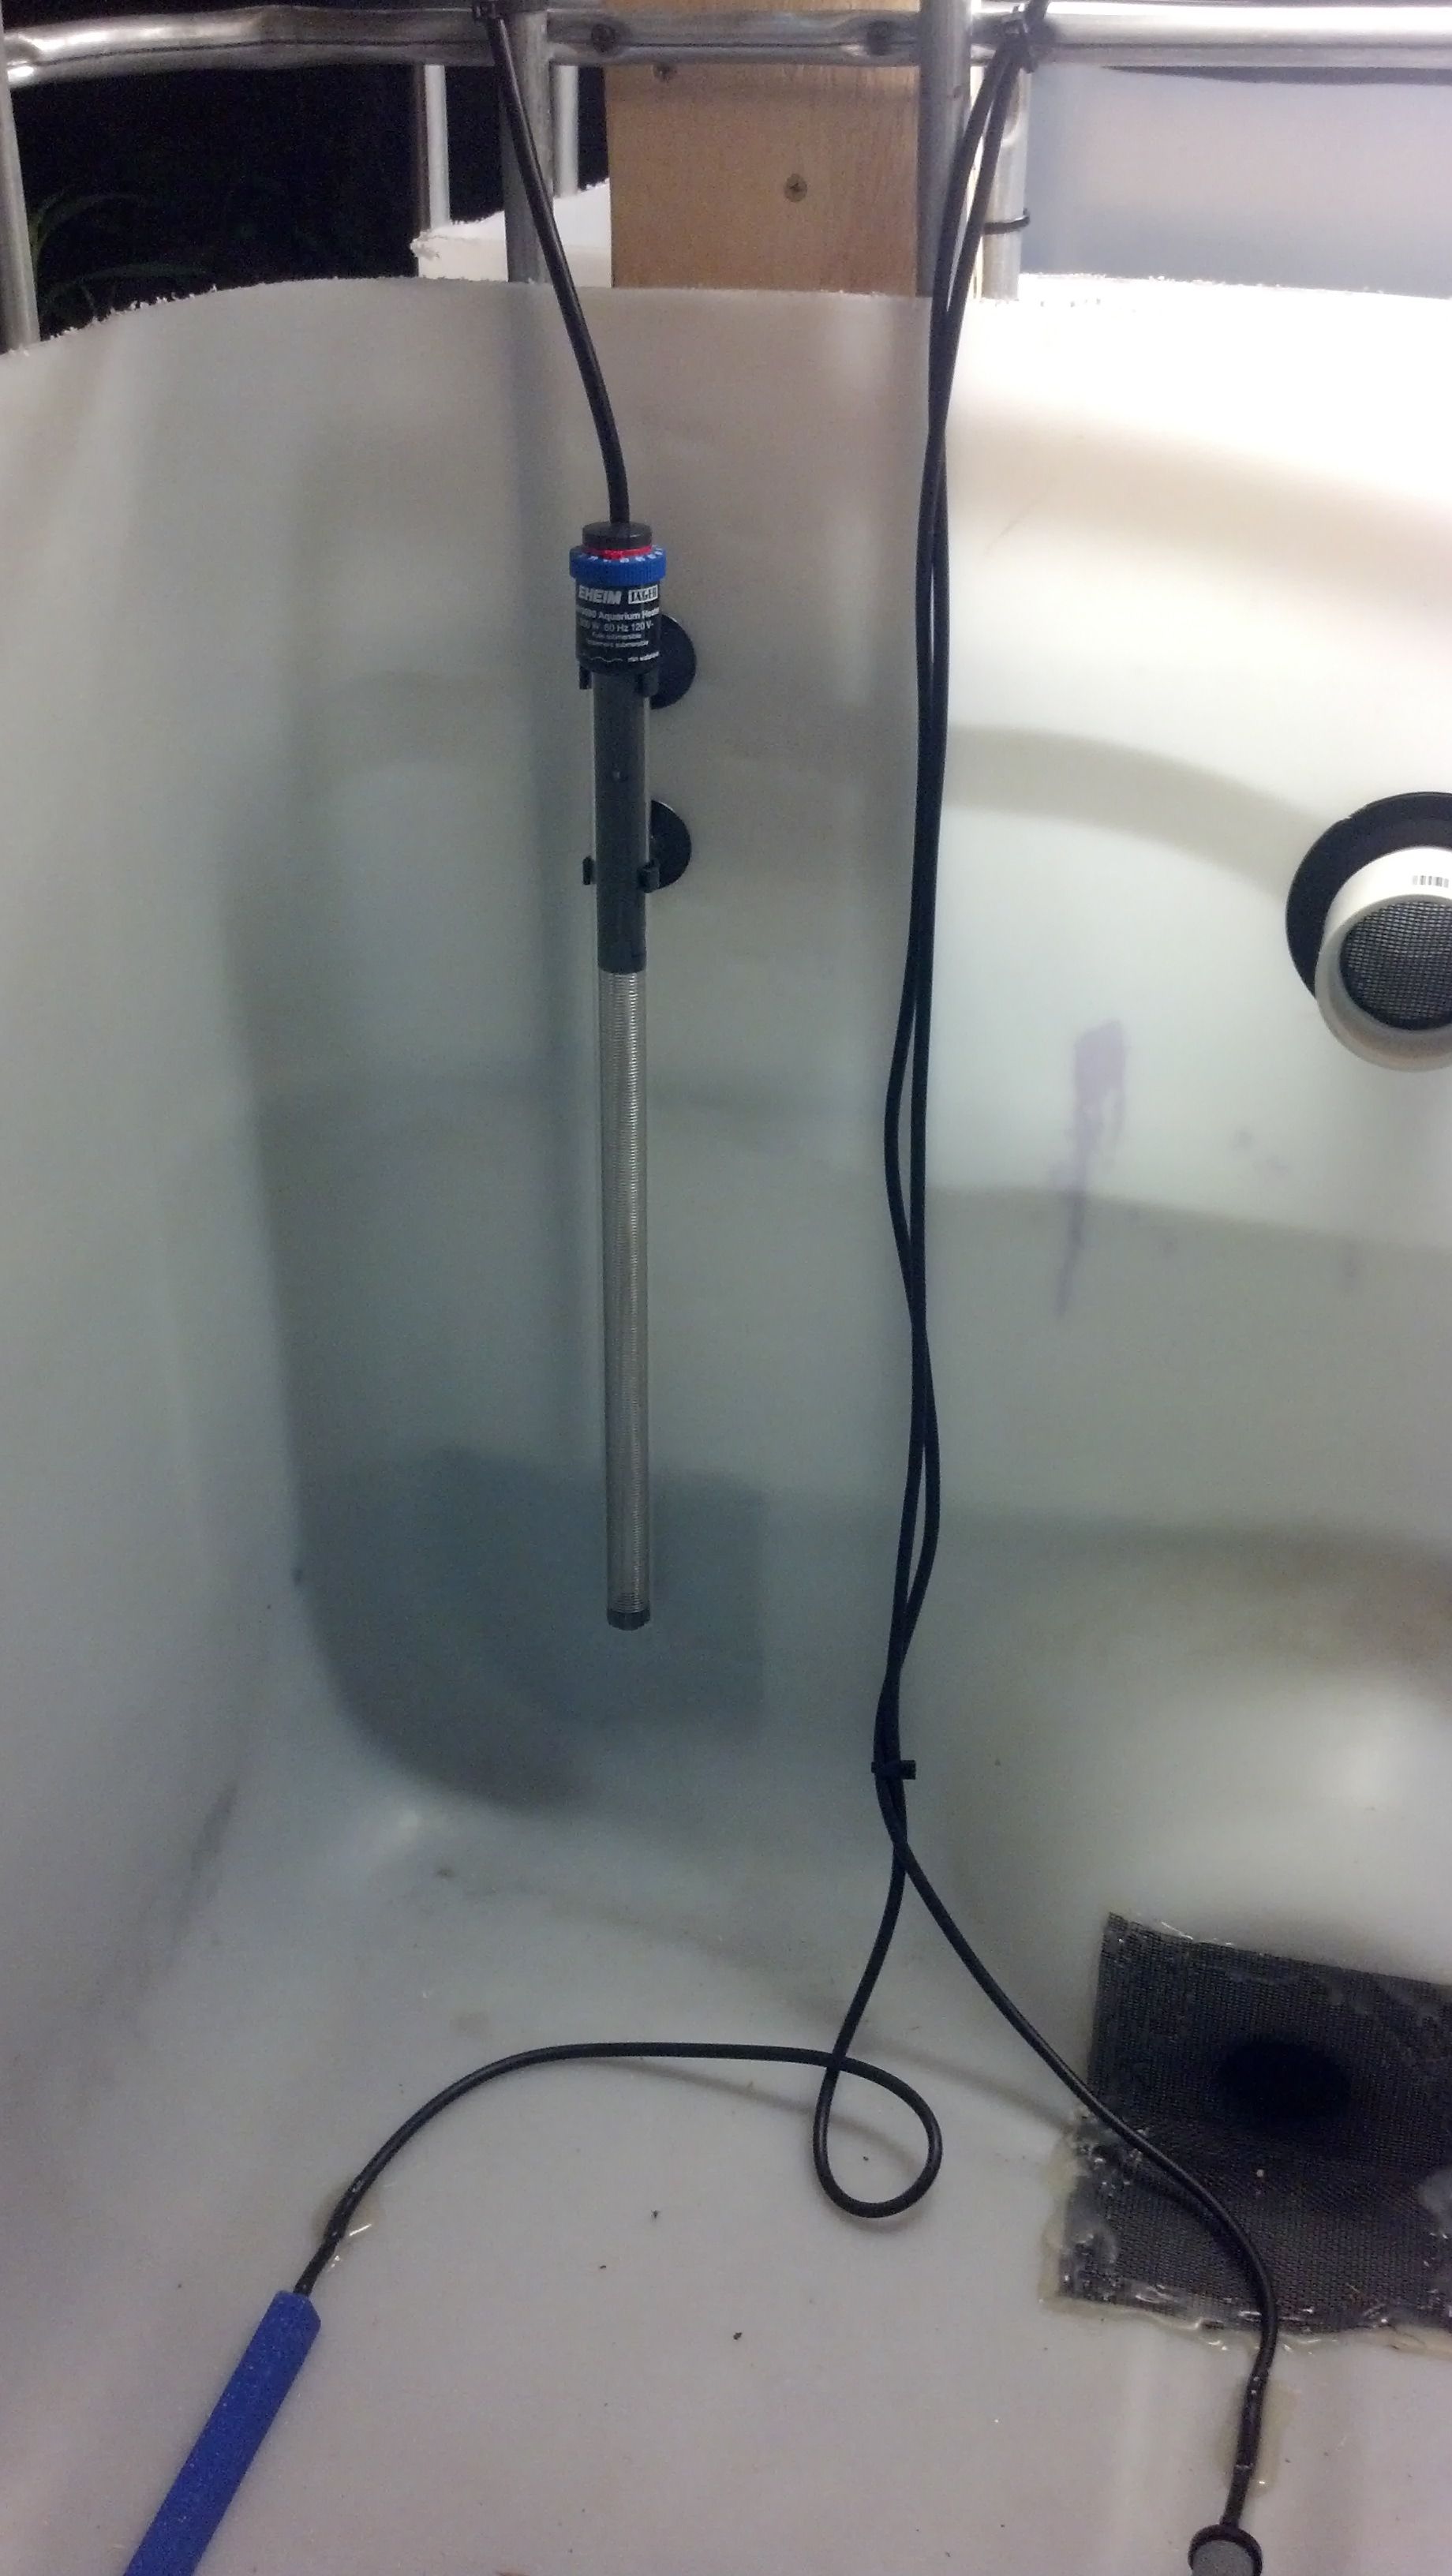
Now, in the photos above, you can see the heaters, one in each tank. These are 300 watt EHEIM Jager submersible aquarium heaters, picked mostly for their good reviews on amazon, and the fact they have a calibrated control, and a safety low-water shutoff (a good idea, since the water level in the tanks can vary). The heaters are not neccesary right now, but as the weather gets cooler, they should (along with layer of rigid foam insulation going on the outside of the system) at least keep the temperature acceptable during cool fall nights. (Even 600 watts of heat plus insulation likely won't keep it warm enough midwinter, the garden beds are excellent radiators. The fish will be going inside, to either my aquarium or a frying pan when it gets too cold.)
Finally, lighting. The fish tanks will be fully enclosed, so I need some light to see inside, and check on the health of the fish, look at the mechanicals, etc. Plus being in the dark all the time is not good for the fish, they need a day/night cycle to stimulate activity. So, I've put a light above each tank, attatched to the bottom of each growbed. The lights are simple, cheap fluorecent strip lights meant to go above your kitchen sink. They are attatched to an aquarium light timer to provide the proper cycle for the fish, and the timer has an override to turn them on anytime in case I need to check on something in the middle of the night.
That wraps up this bit, Next up: Something that trips up many folks, Siphons and standpipes for the bed drains.