Aquaponics Project, part IV, Plumbing
Now for the mechanicals of the system, specifically the plumbing. This system has a submersible pump in the fishtanks, that pumps water up into the growbed.
For an ebb-and-flow bed, the bed fills with water up to about 2 inches below the surface of the growing medium (the bed is 12 inches deep, so the full water level is around 10 inches), over a period of around 15 minutes. Then a siphon will drain the bed entirely in 2-3 minutes. This cycle is driven by a constant flow of water into the bed. The filling and draining cycle exposes the plants roots to the water from the fishtanks to gather nutrients, but also pulls air into the bed during draining to keep the plants' roots from becoming waterlogged. This is ideal for most vegtables.
I am configuring one of the beds as a always-flooded aquatic garden. For that, water will flow in continuously, and flow out through a standpipe, also continuously. This is good for aquatic or semi-aquatic plants, like watercress. or water chestnuts.
I am building the beds so they can easily be changed between ebb-and-flow, and aquatic modes.
First, we start with the pump. Now, in general, for beds this size, you want to deliver around 80 gallons per 15 minute cycle to the growbeds. This is enough to cycle the ebb-and-flow bed, and turnover the water in the flooded bed to prevent it from becoming stagnant. For the 2 beds this is 160 gallons per cycle, or 640 gallons per hour.
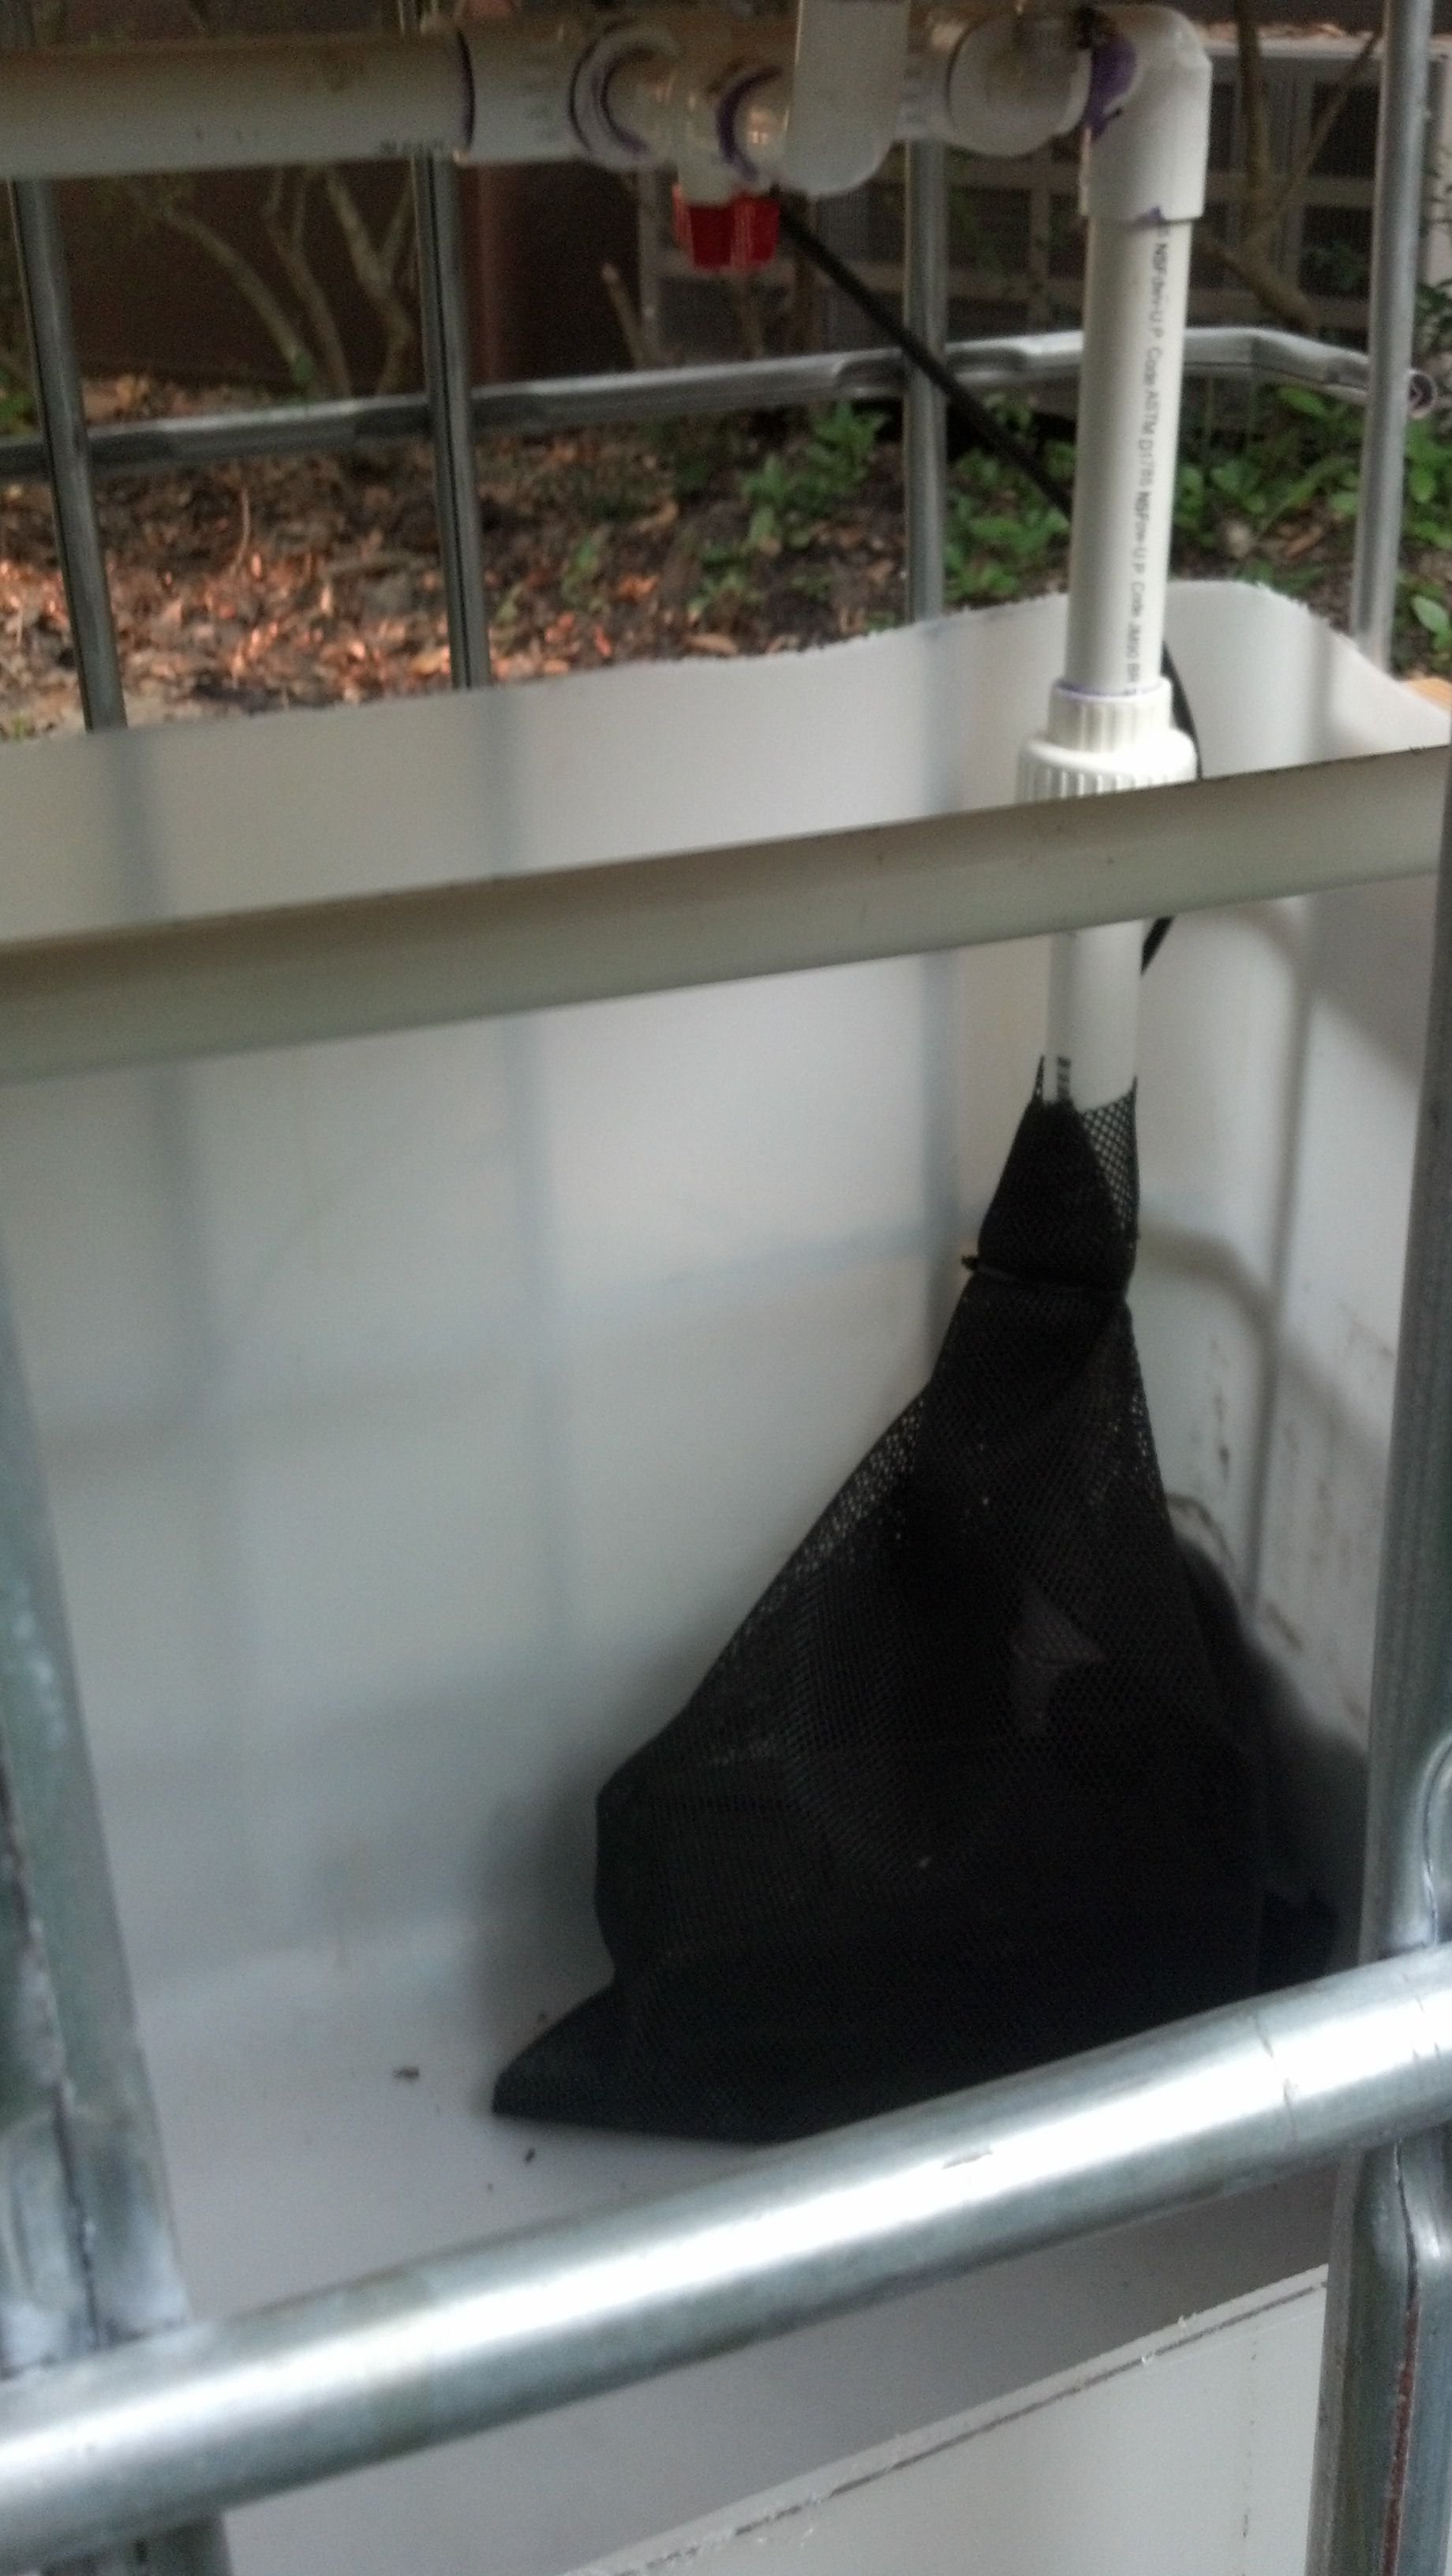
The pump that I am using is actually much more powerful than I need. It is rated to deliver around 4300 gallons per hour at 0 foot elevation (the higher you have to lift the water, the less a given pump can deliver, as the pump has to work against the weight of the water, aka "head". Pumps are generally rated at 0 head, remember to look up their capacity at the height of your growbeds) At the height of my beds, it still can deliver 4-5 times what I need. I will be using a bit of that extra capacity to spray some of the water straight back into the fishtanks. this circulates the water in the tanks, and helps aerate the water, which is better for the fish. Also, I plan on eventually expanding this system, adding more growbeds, and I will need extra capacity eventually. In general, you can stop down a pump's output with a valve, so it's better to have more than you need instead of not enough. (You can get more info on this specific pump here ) Here, I have the pump, with some of the piping attatched, wrapped in a mesh "pump sock", which keeps debris and curious fish out of the pump:

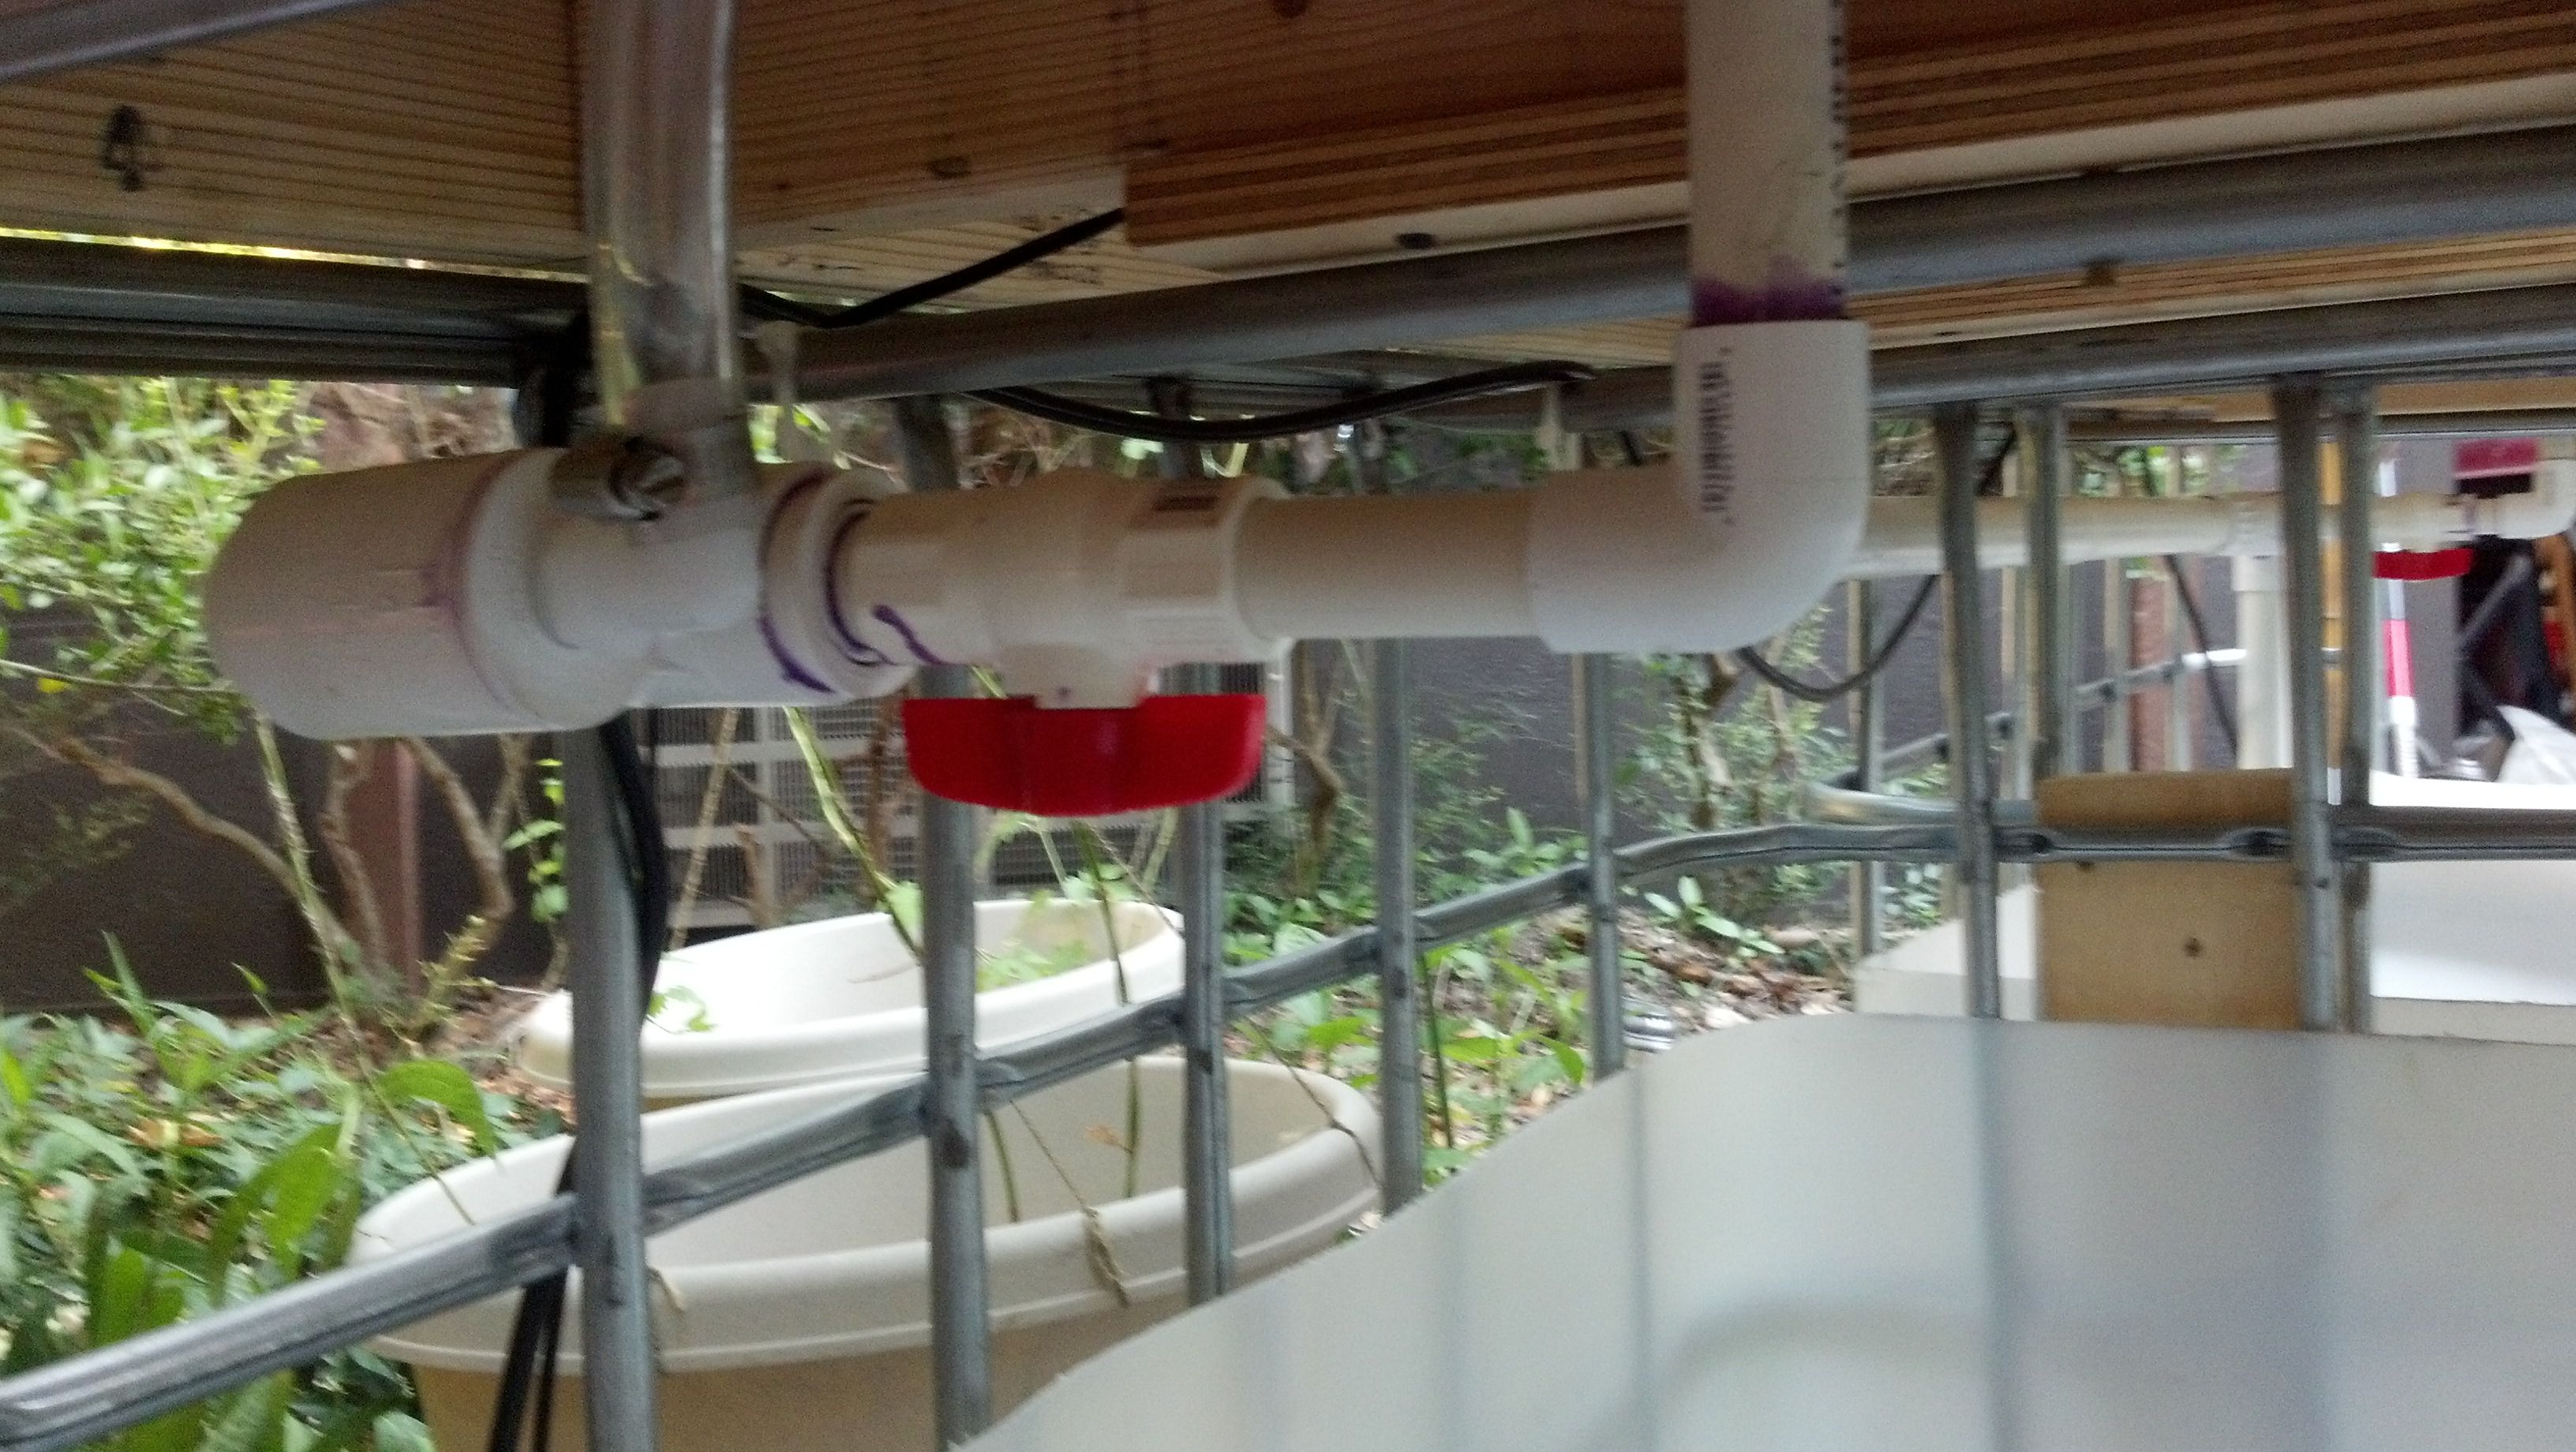
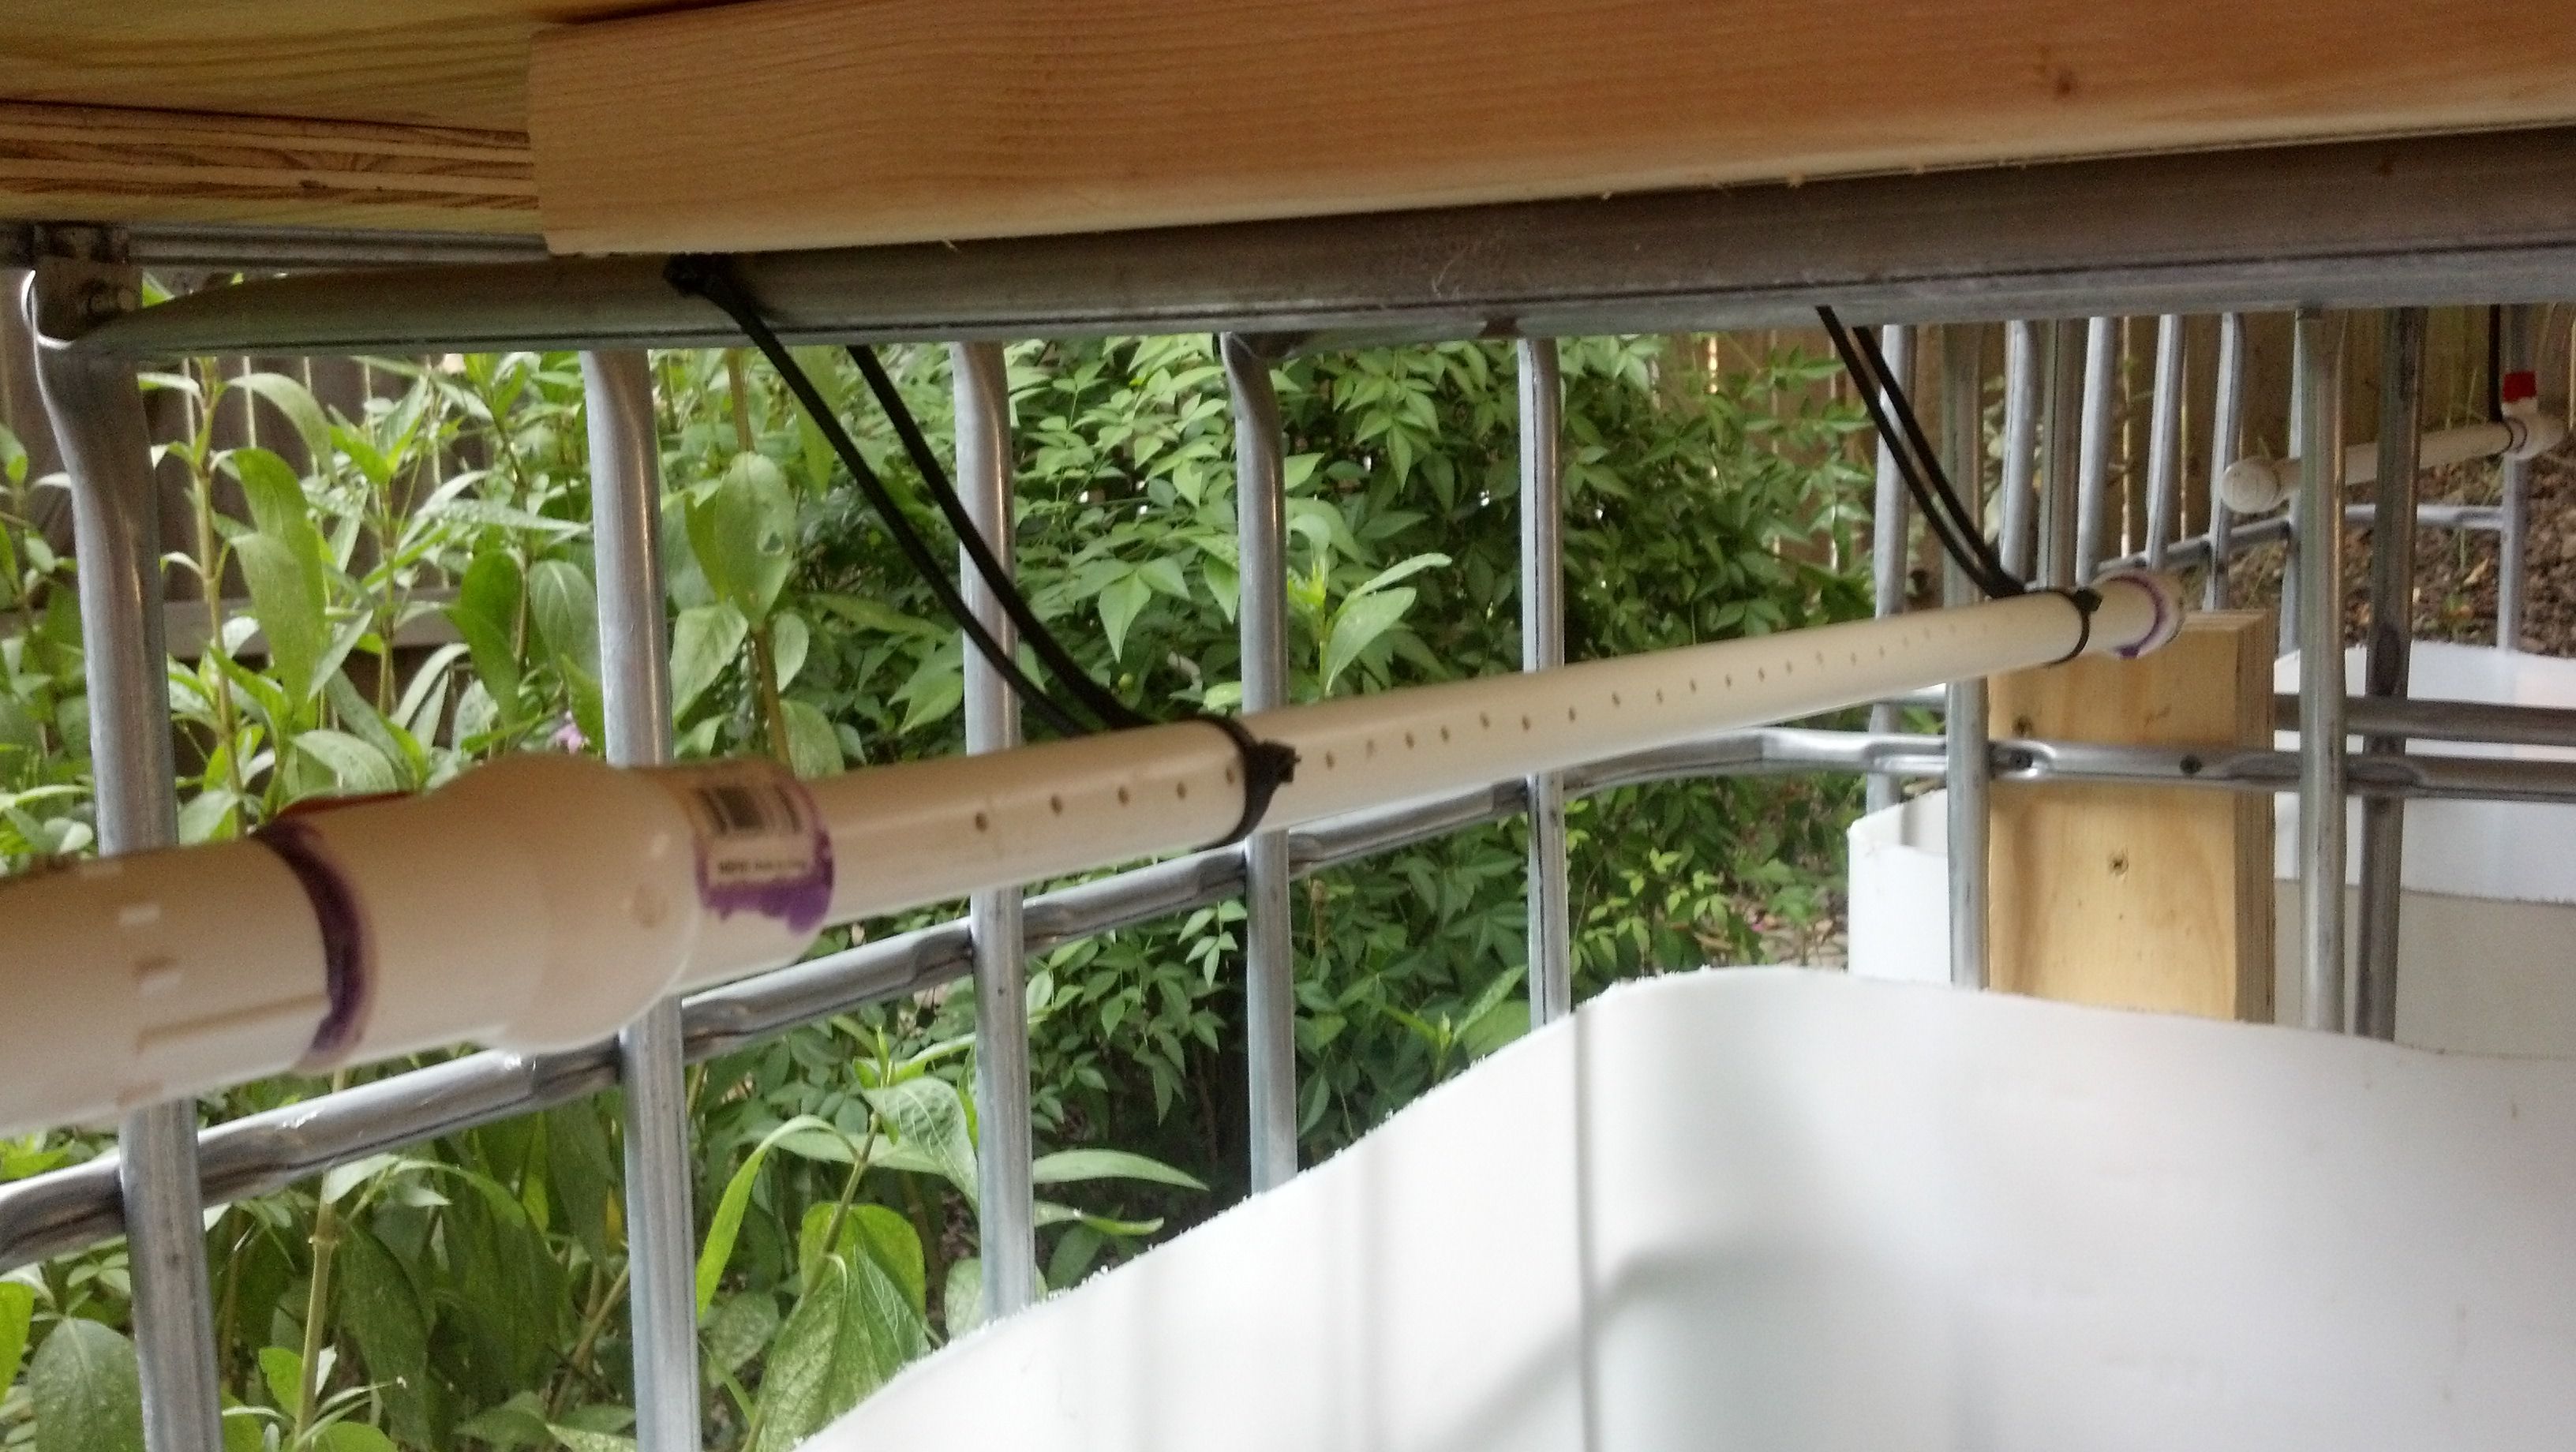
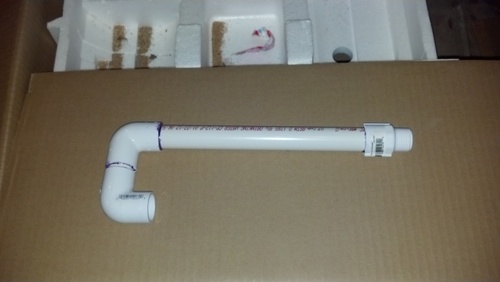
If you look carefully at the white pvc outlet pipe I've attatched to the pump, you will see that I have a union fitting on the outlet. This makes it easy to remove the pump from the system for maintinence. Once I have the pump in place in the fishtank, I built a manifold out of 1-1/4 inch pvc (to match the size of the pump outlet) that runs from one end of the system to the other. This feeds the 3/4 inch feedlines to the beds, and the 1/2 inch lines to the spraybars:

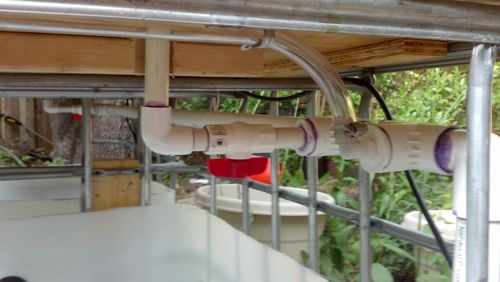
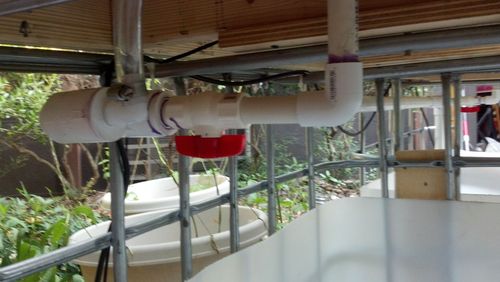
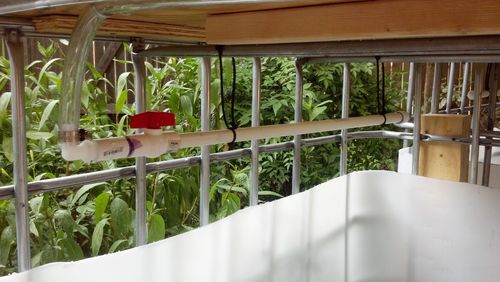
Here is one of the spraybars. It basically acts like a long skinny shower head, spraying water back into the fishtank. It's just a 1/2 inch lenghth of pipe with a cap on one end, a control valve on the other, and a series of holes drilled along it's length.

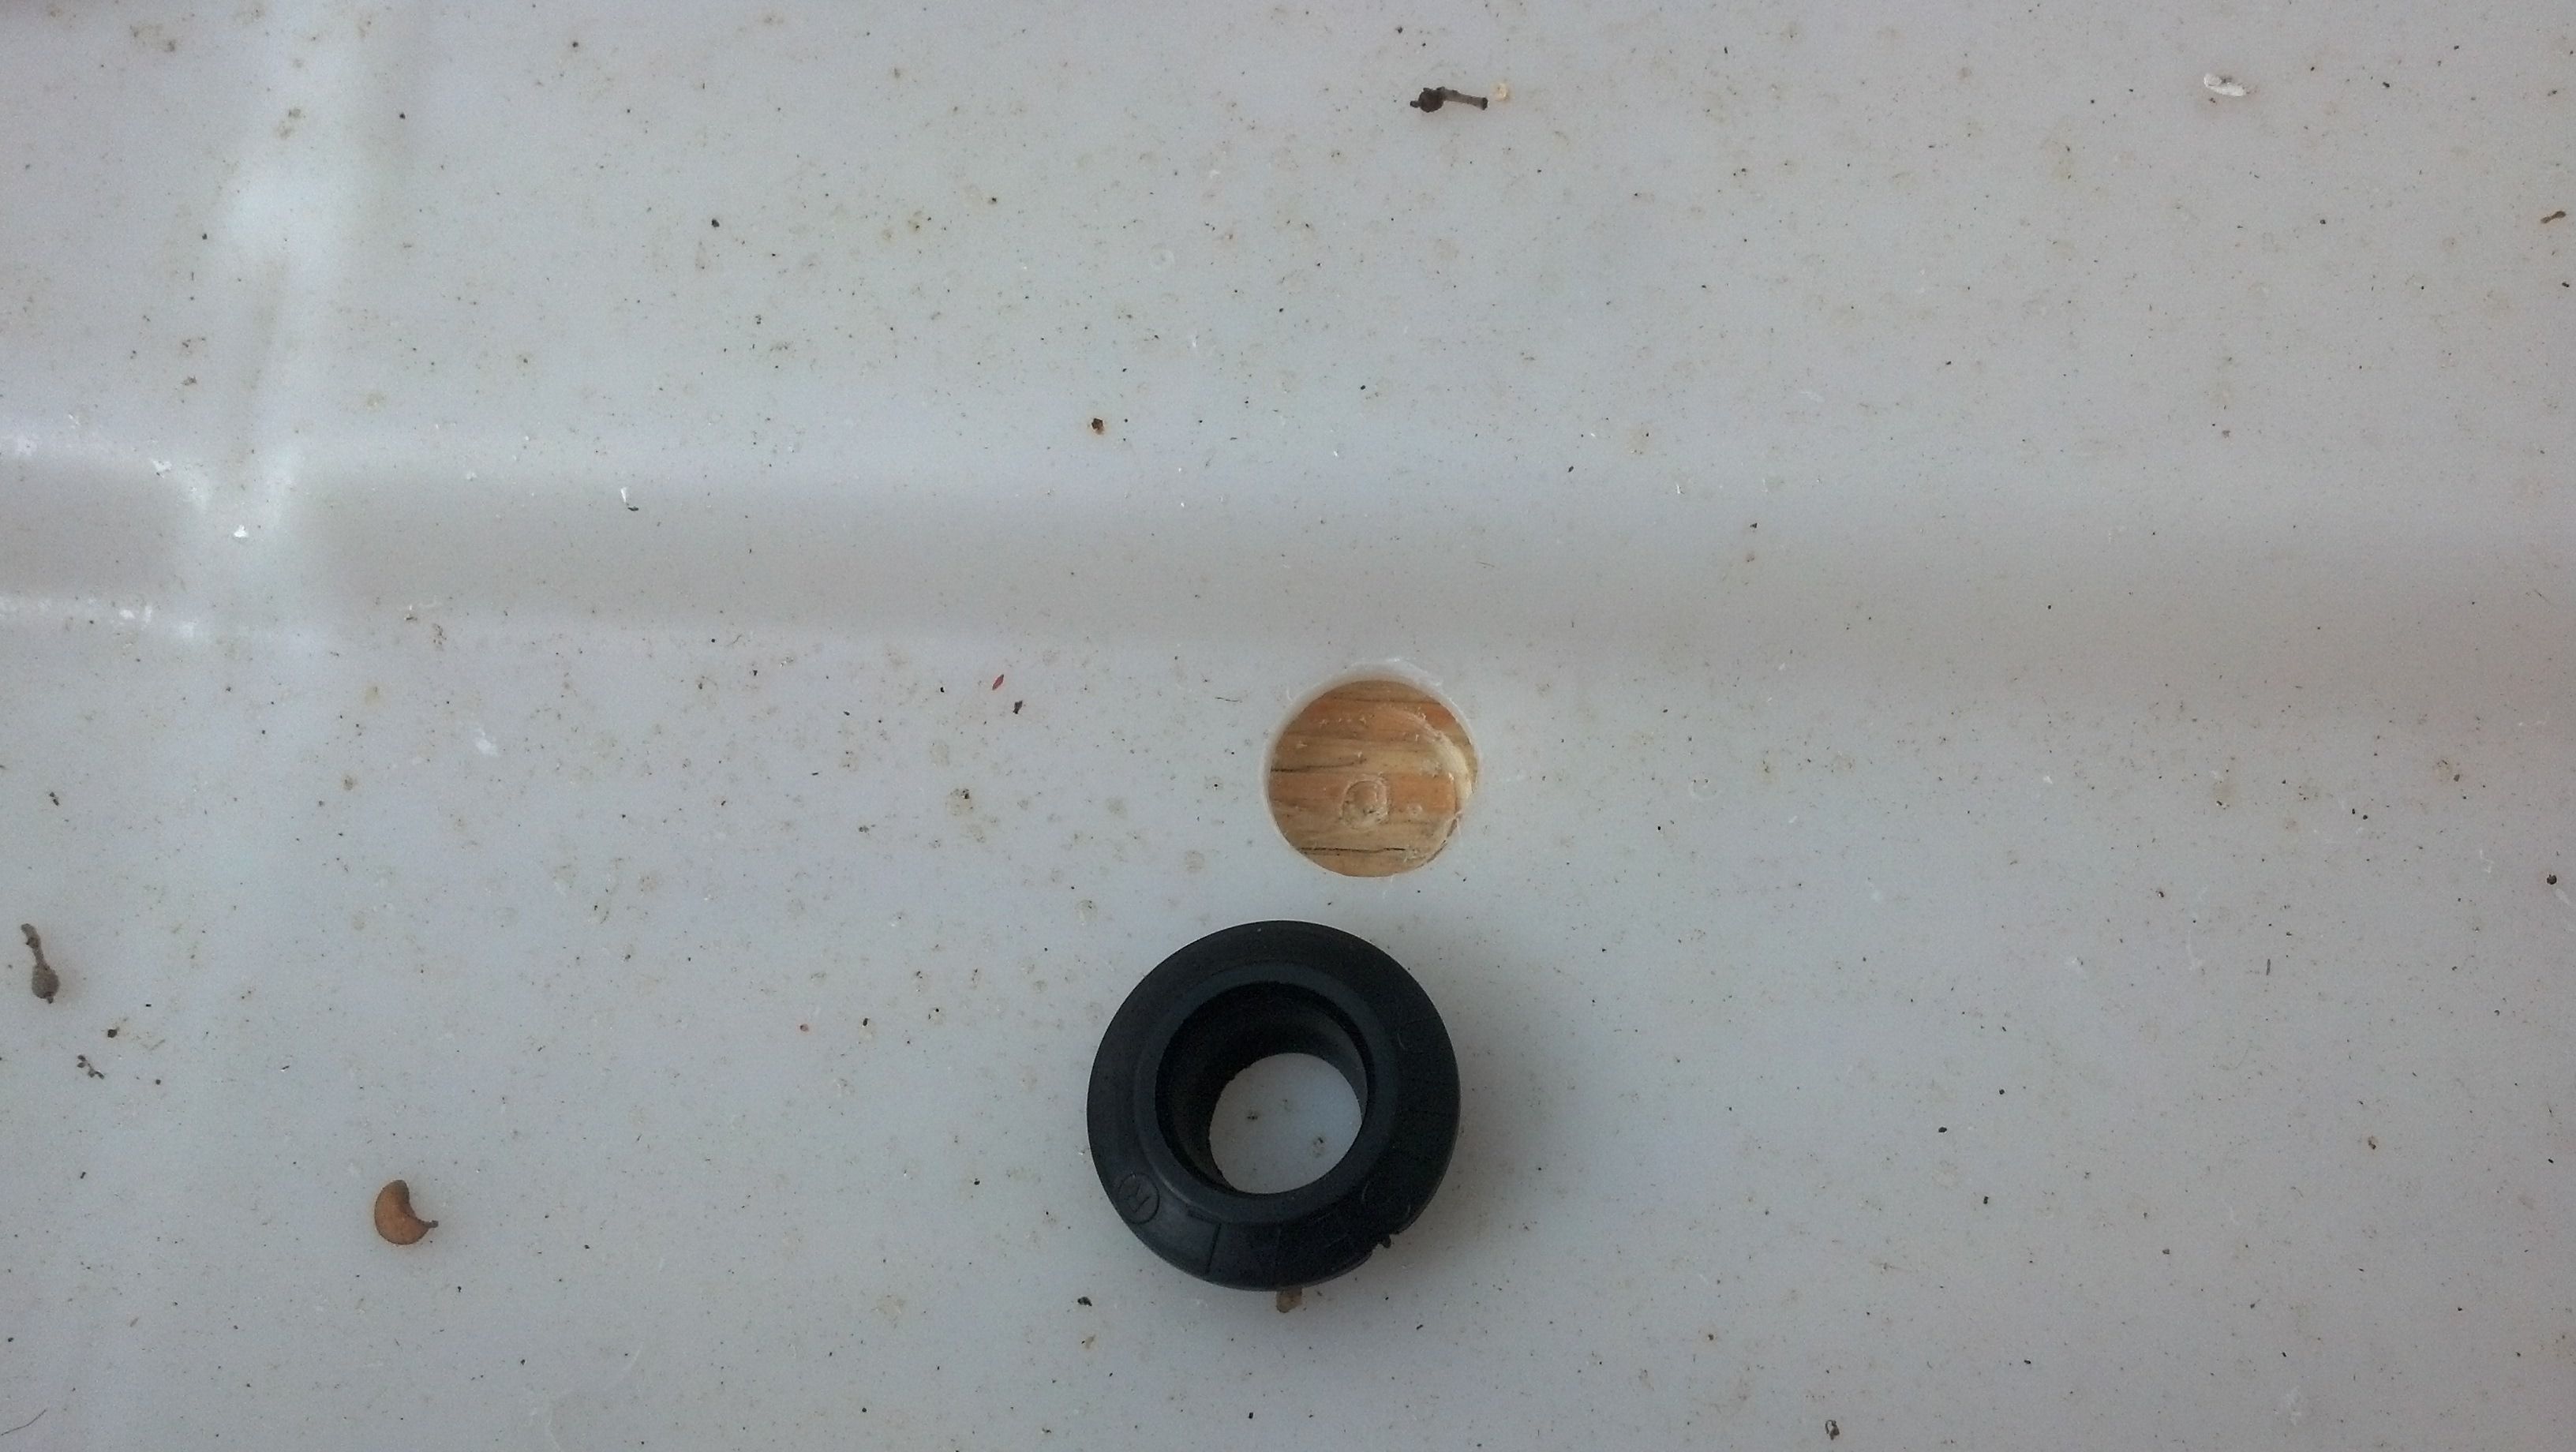
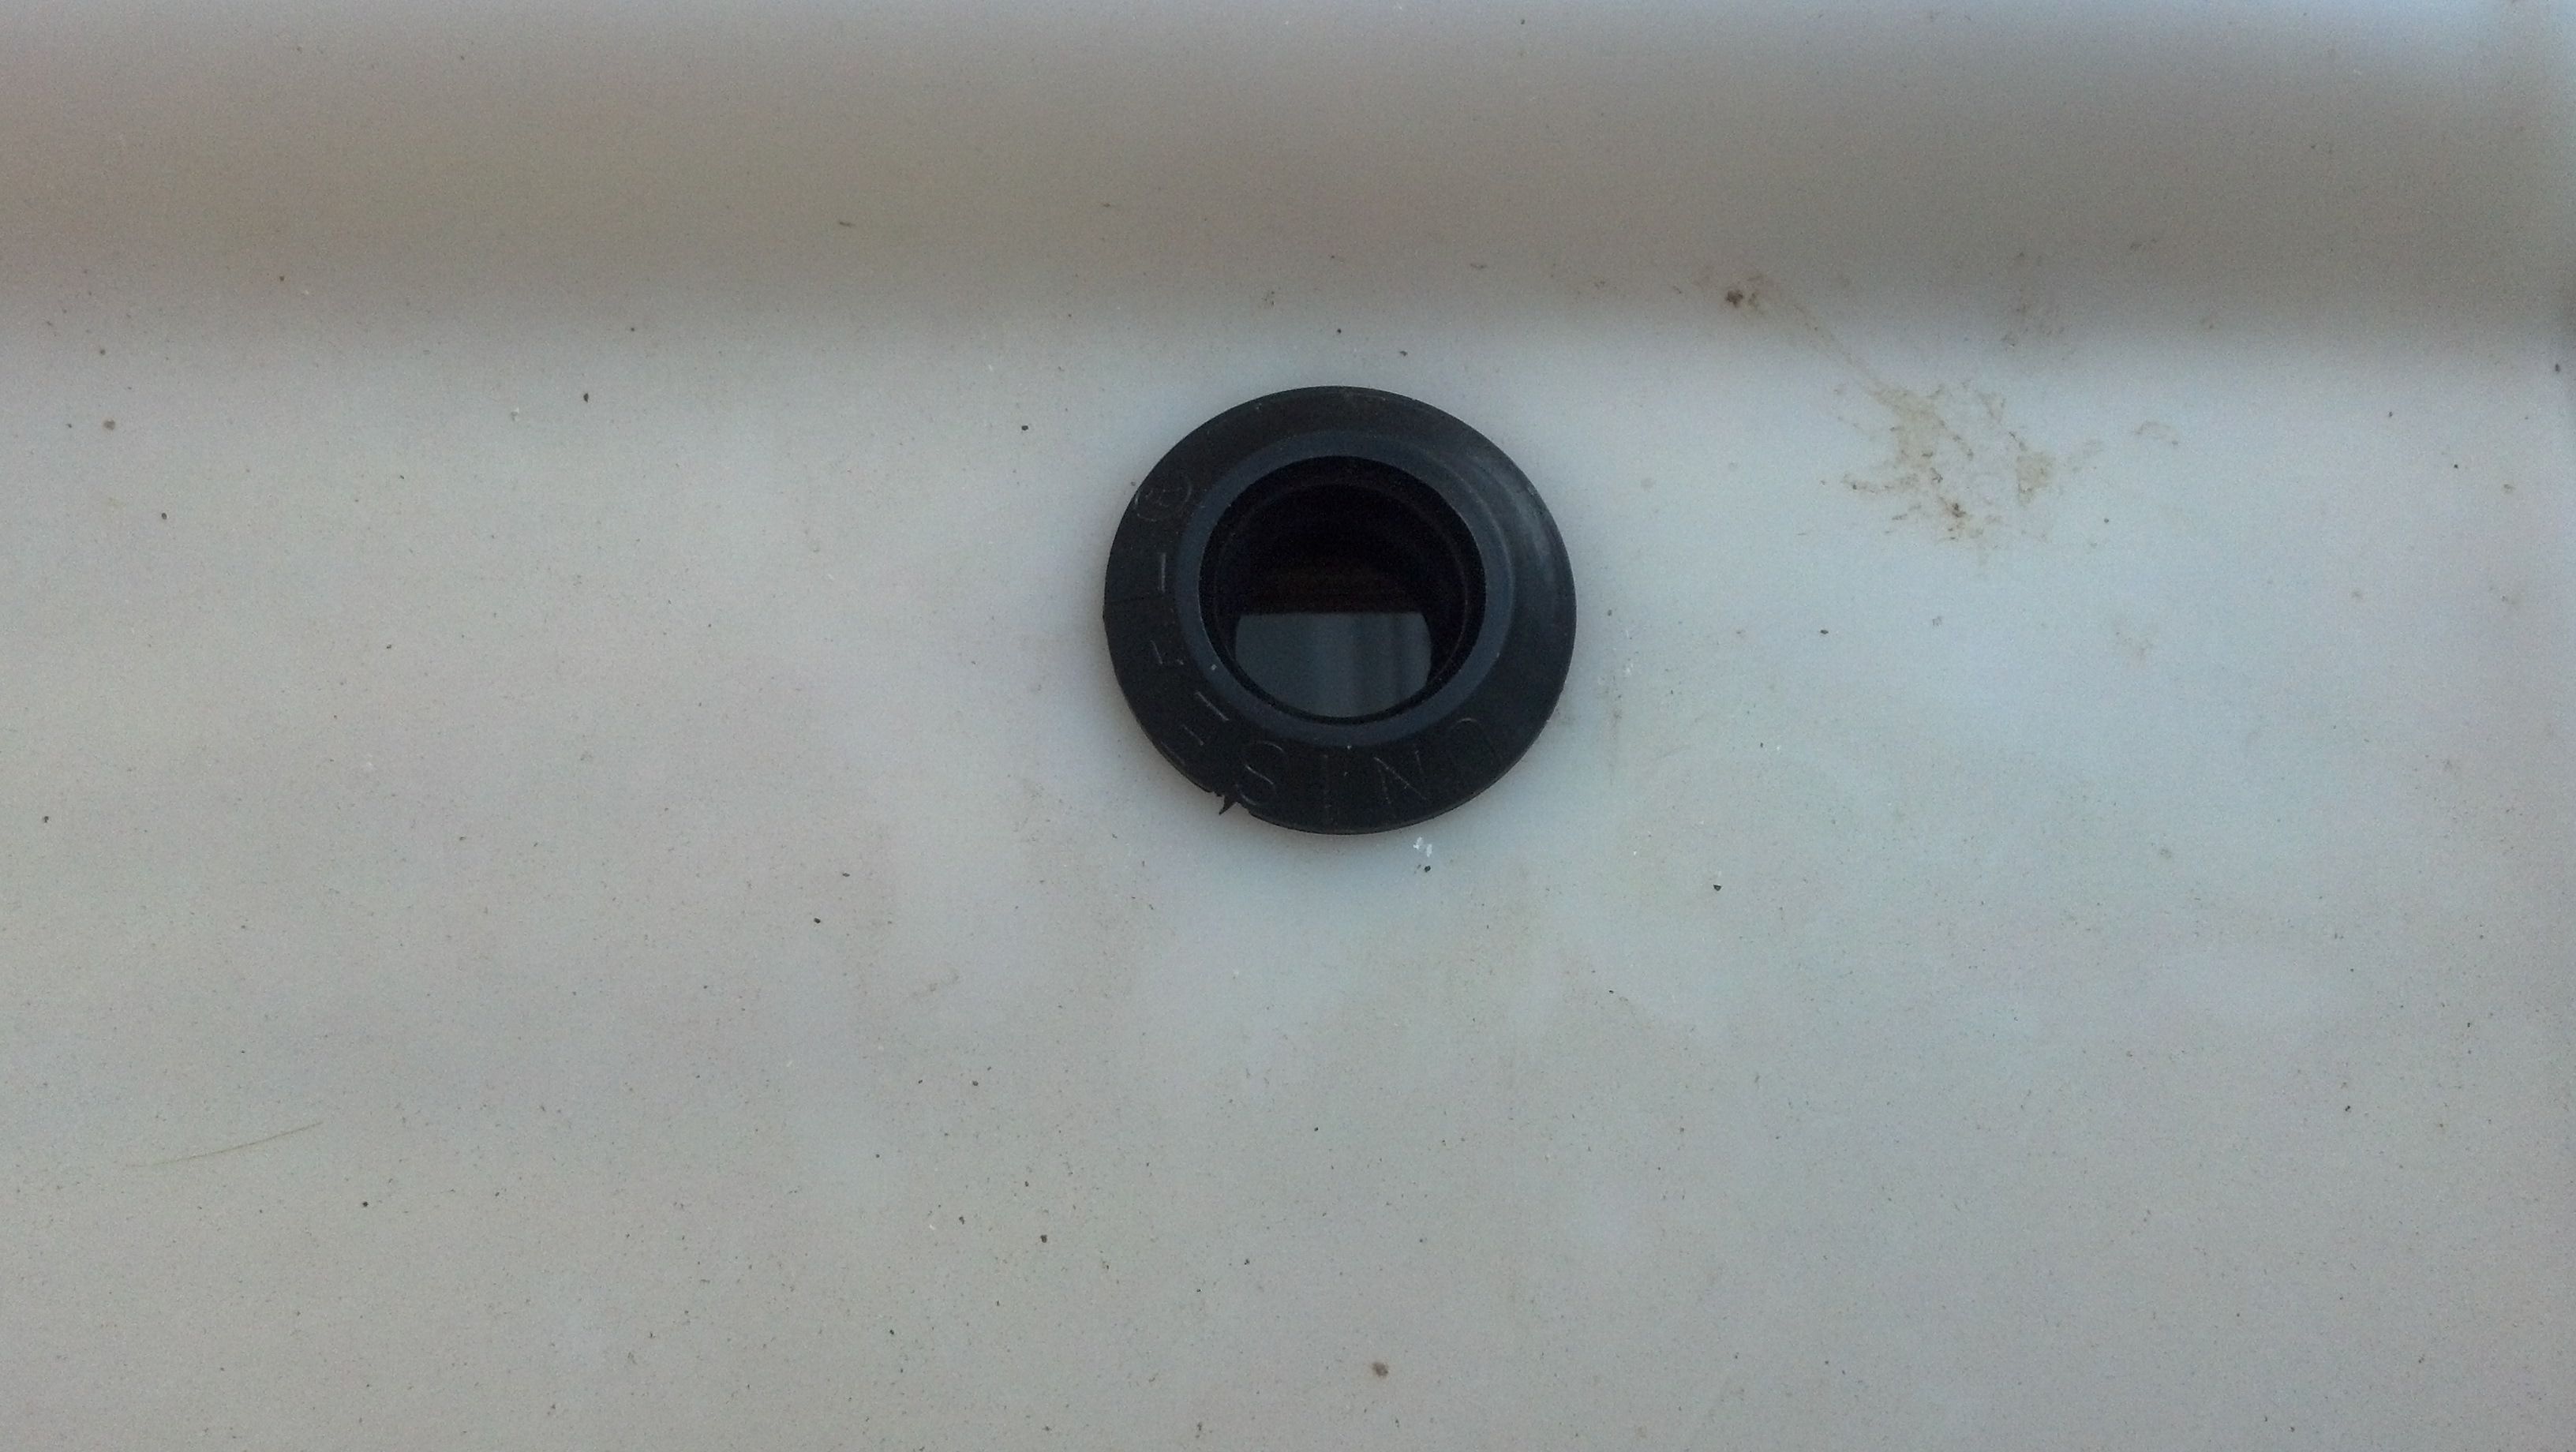
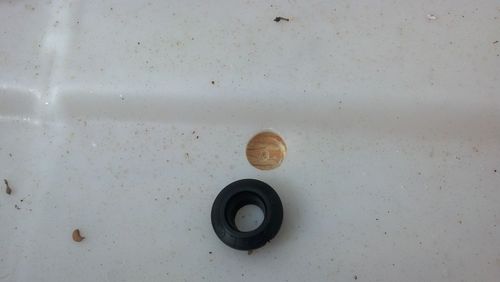
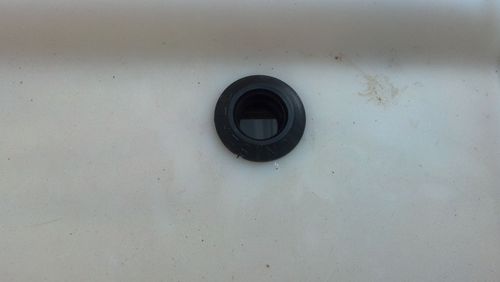
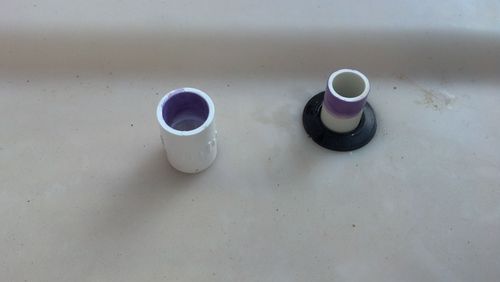
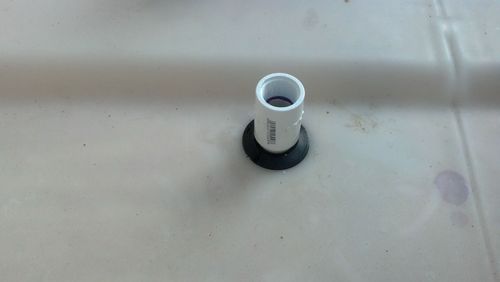
Now, to run the feeds into the beds, I needed to run them through the plastic liner without it leaking. You can do this with what is called a "bulkhead fitting", which is just a male and female fitting with a gasket inbetween (your toilet tank has one for the water inlet), but, for some reason, those are stupidly expensive. The solution is something called a Uniseal tank fitting. This is just a thick rubber grommet that lets you put a pipe though a hole in a container, and keep a watertight seal. The 3/4 inch seals I used on the growbeds worked quite well. You just drill a hole with a hole saw (you want a precise hole), pop in the seal, and push the pipe through (it helps to grease the pipe with something. You can use water, or glycerin, if you have some. I used a drop of cooking oil, then cleaned the pipe afterword):
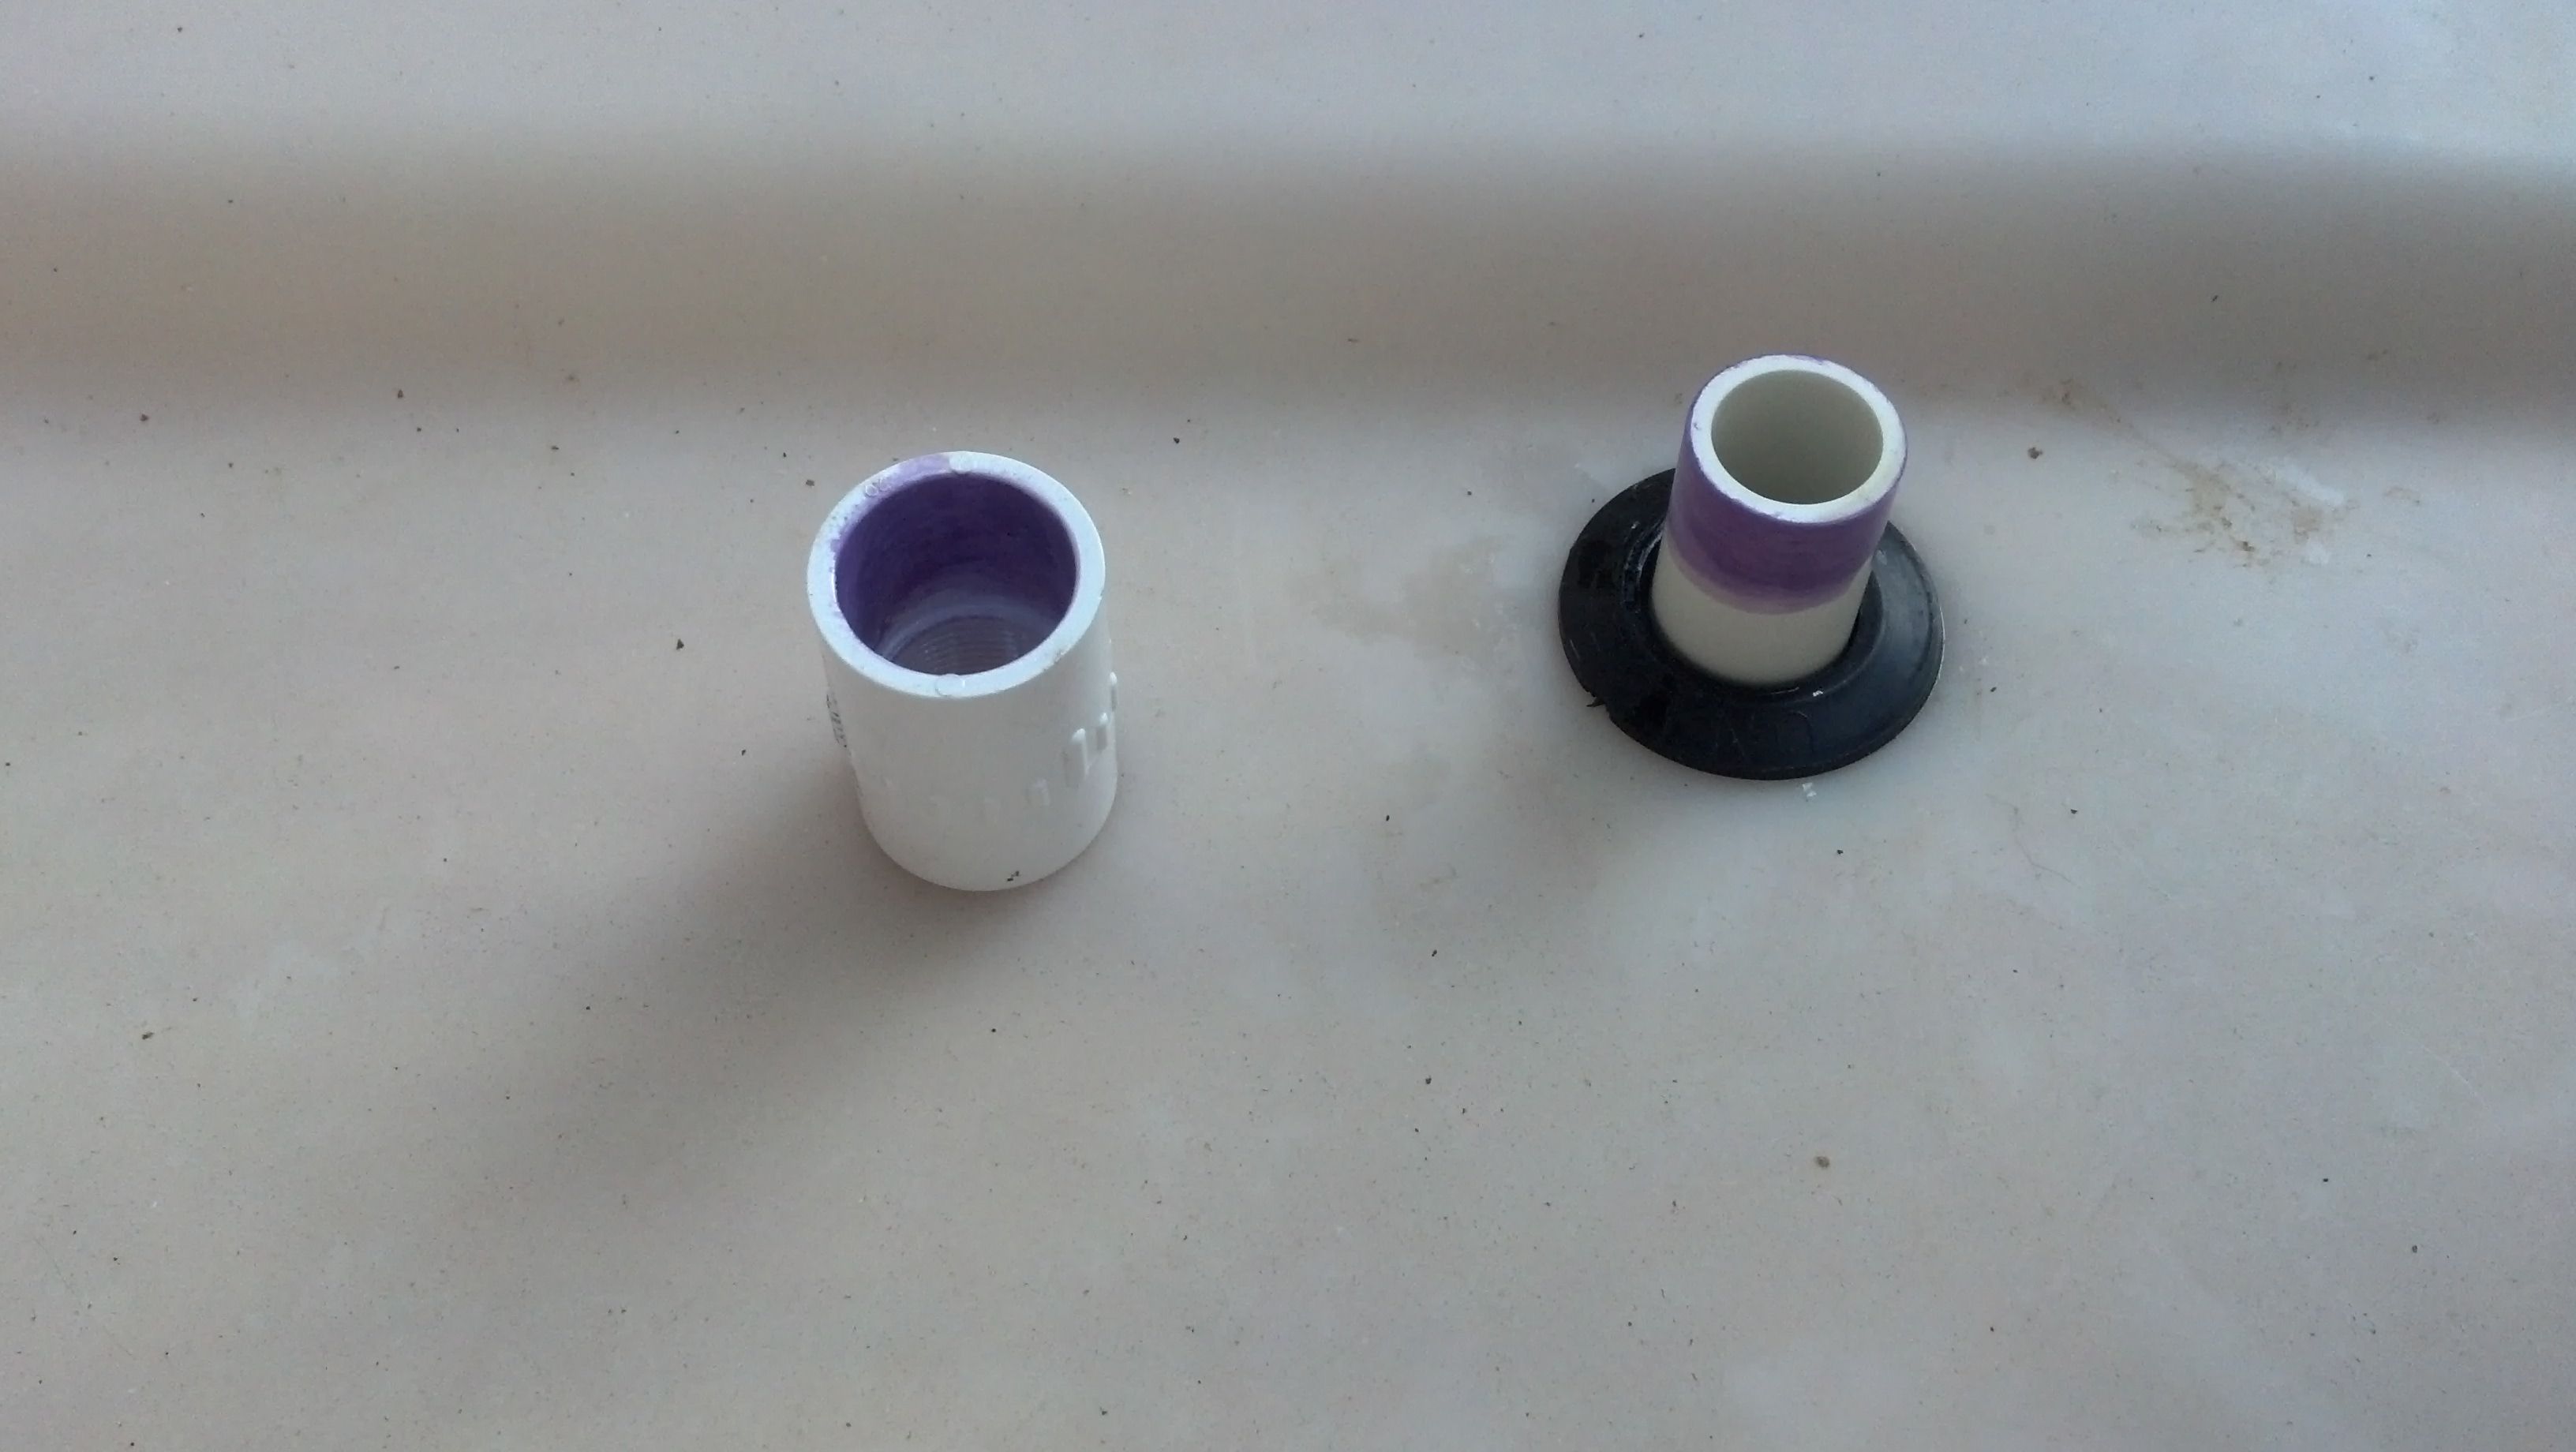
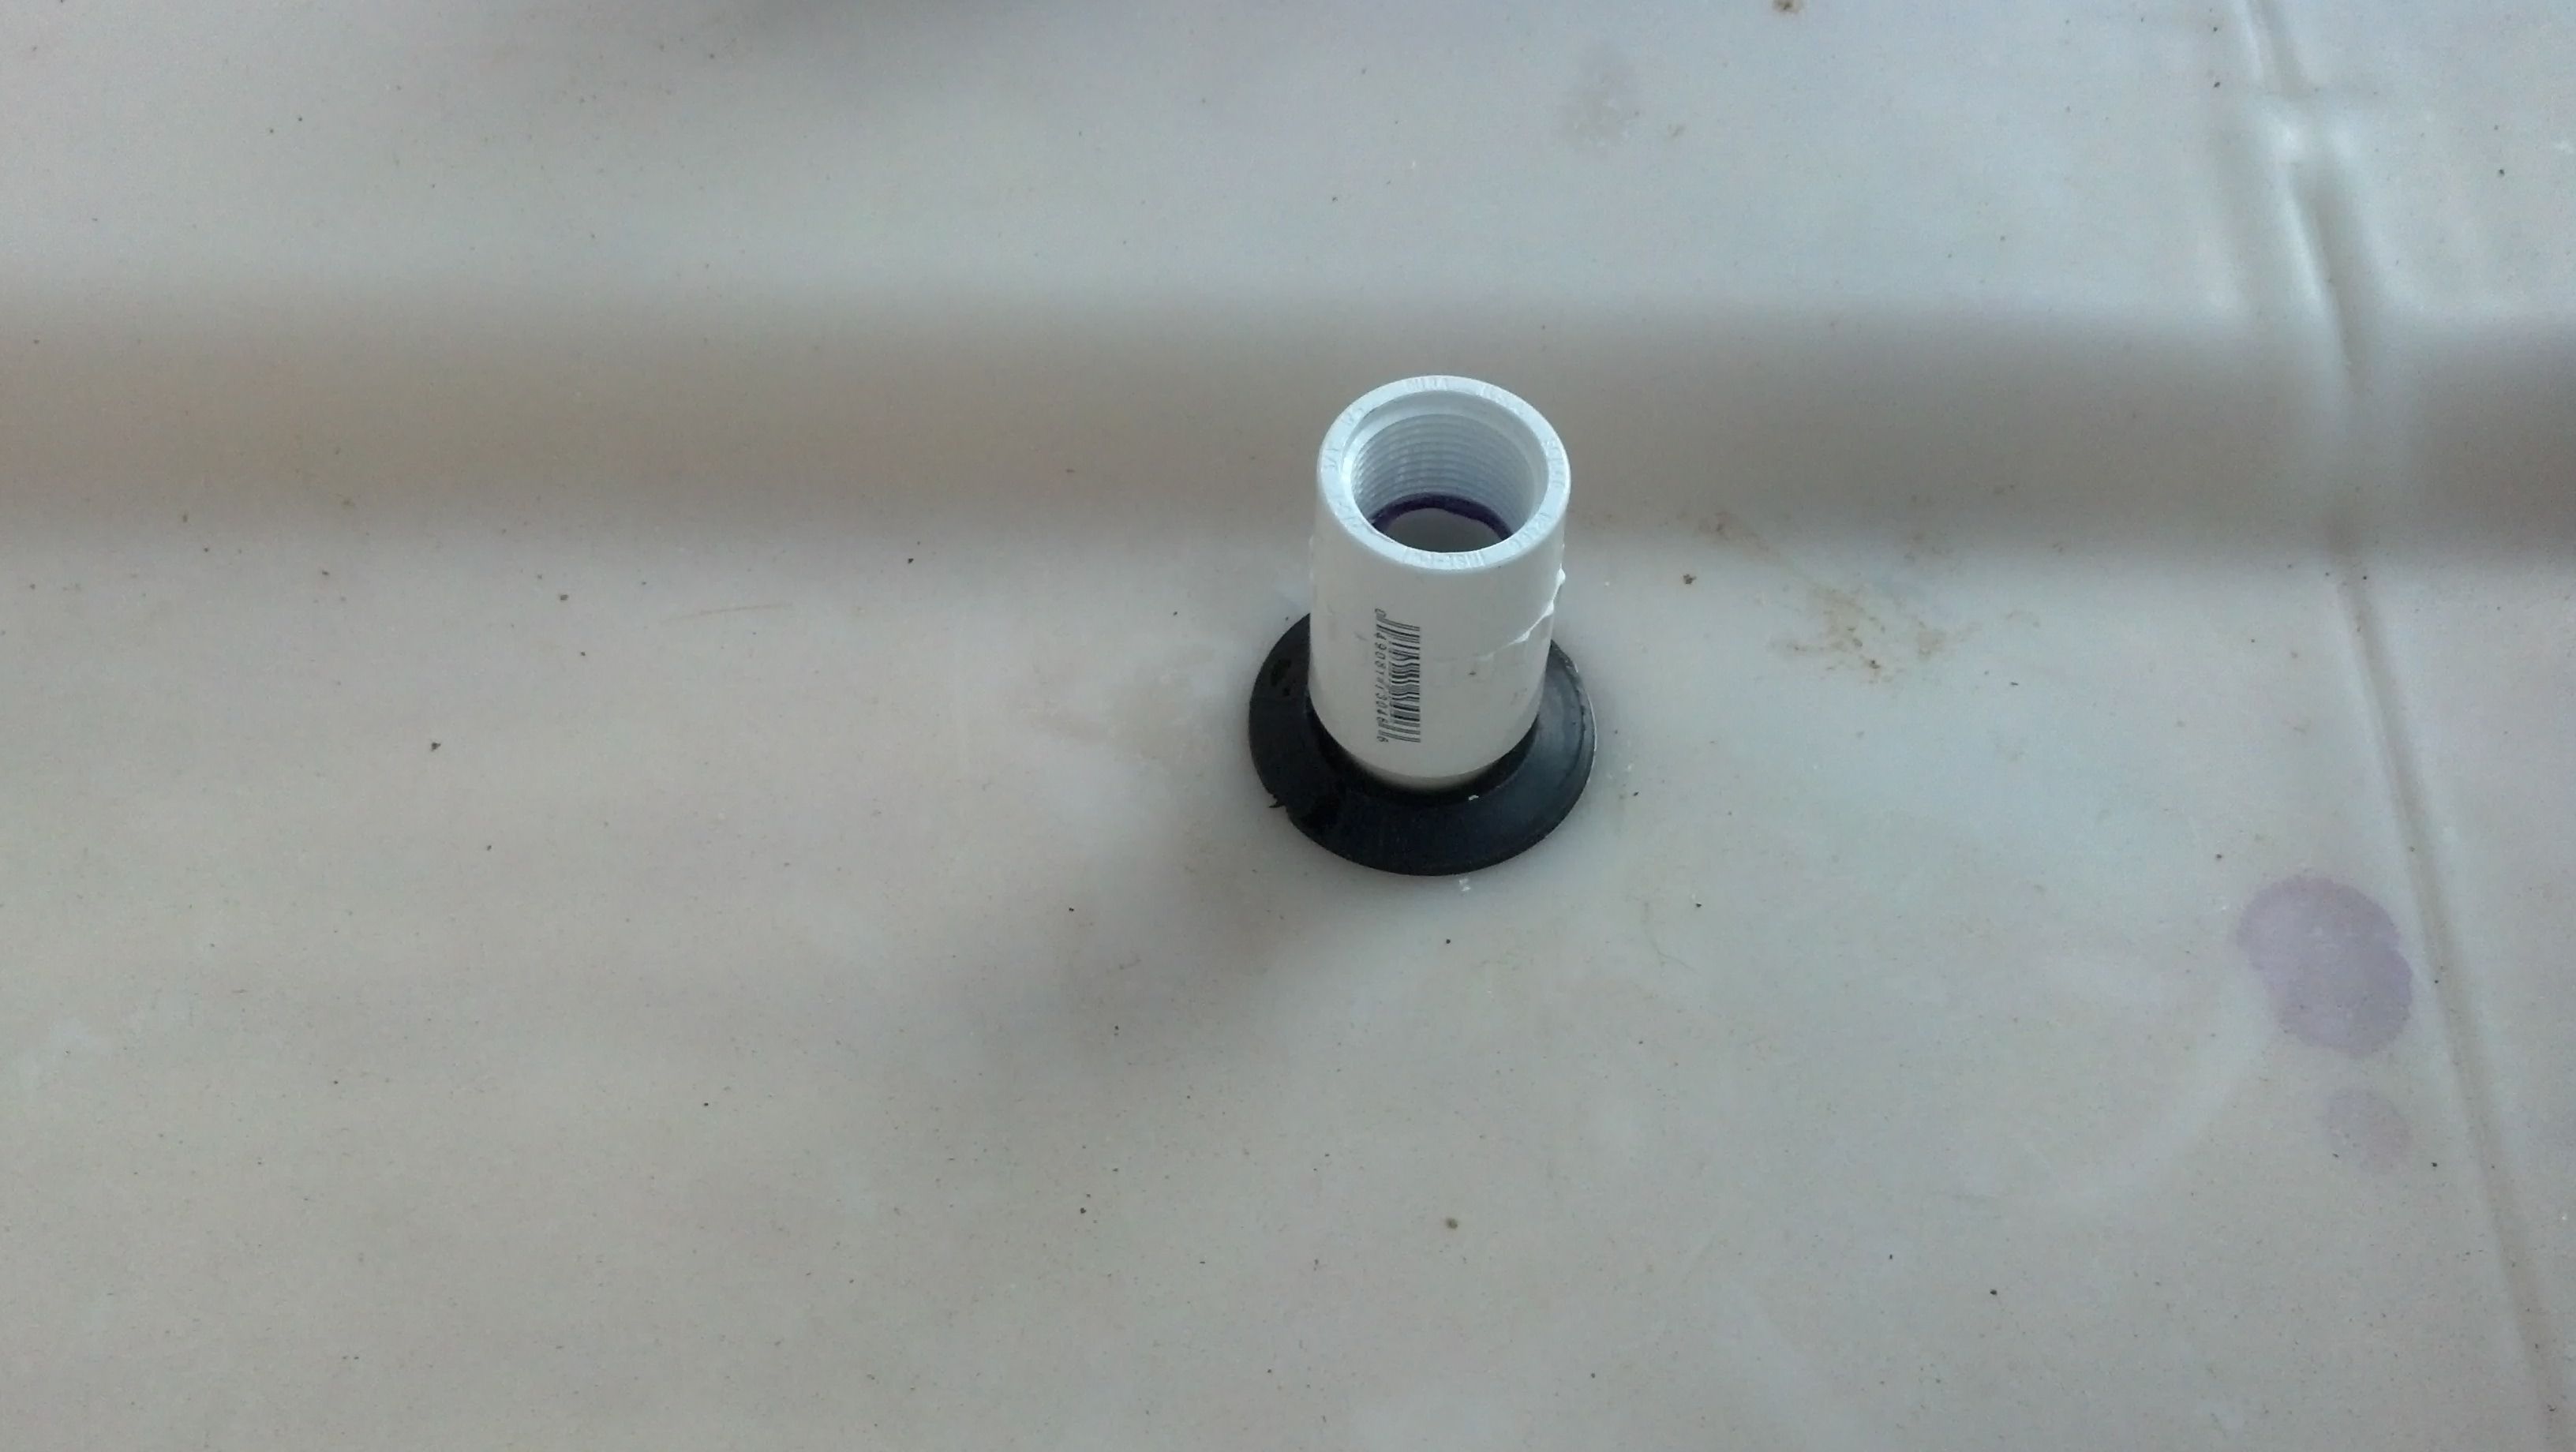
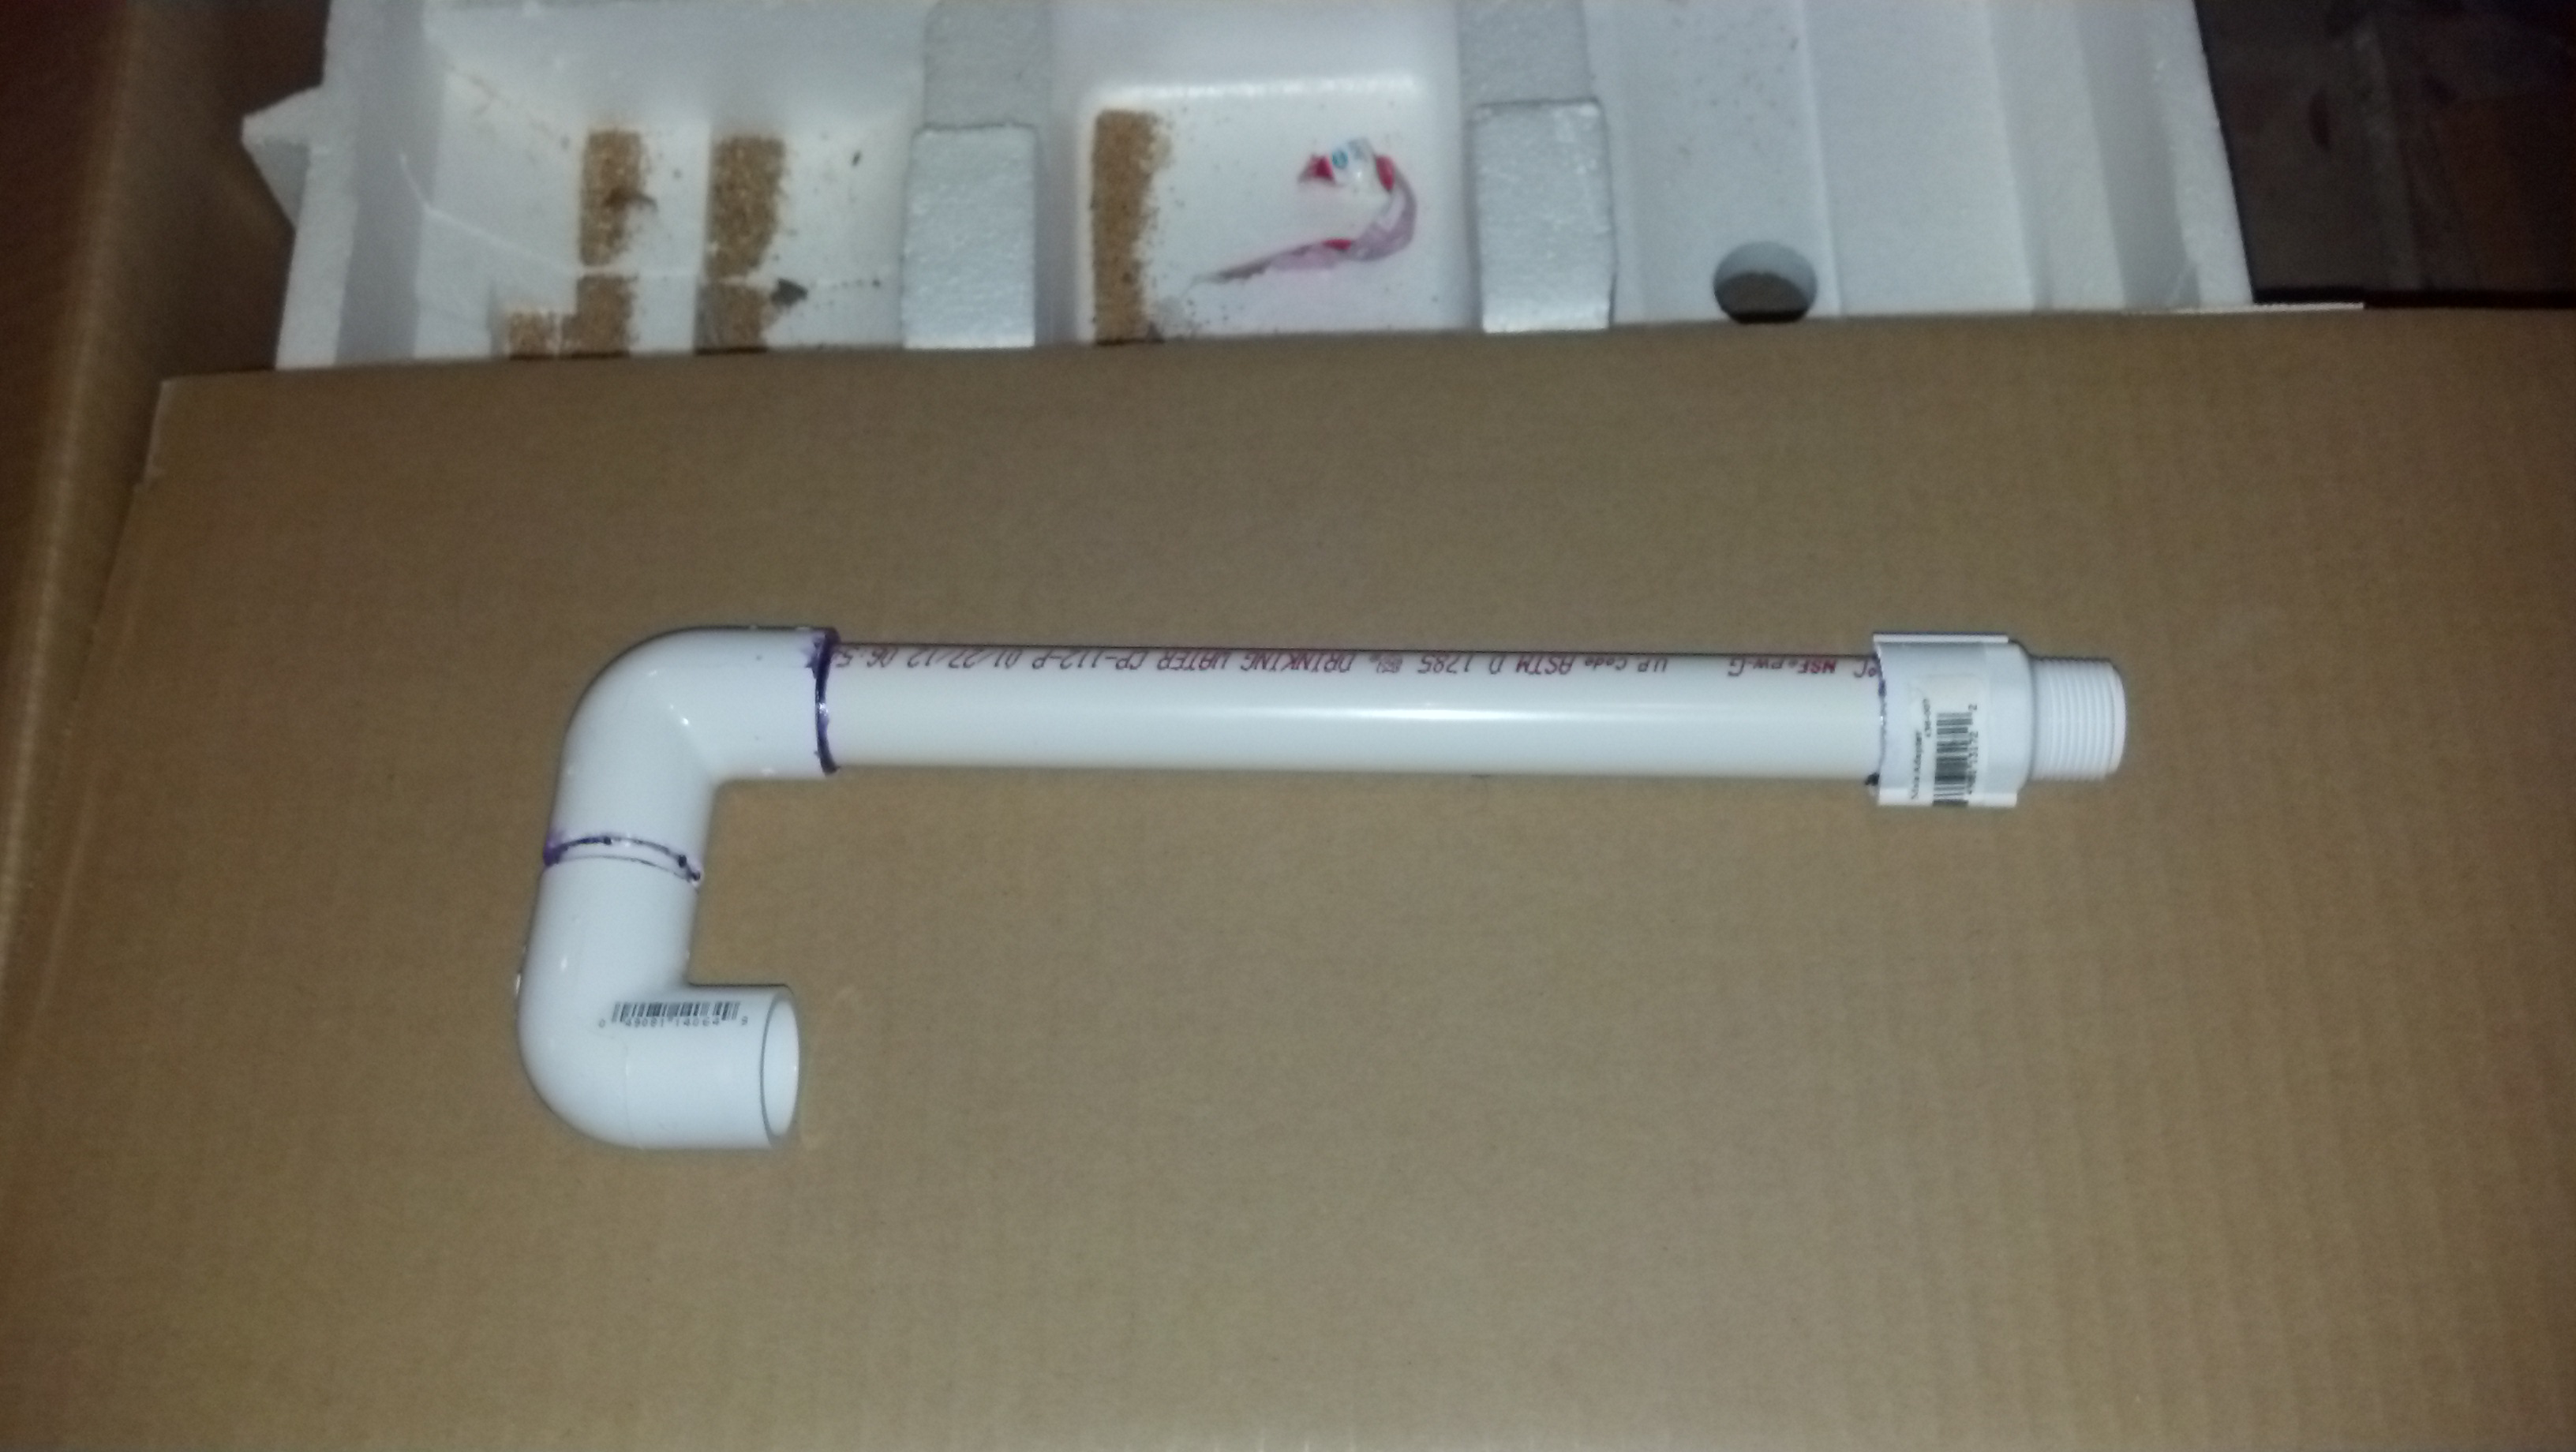
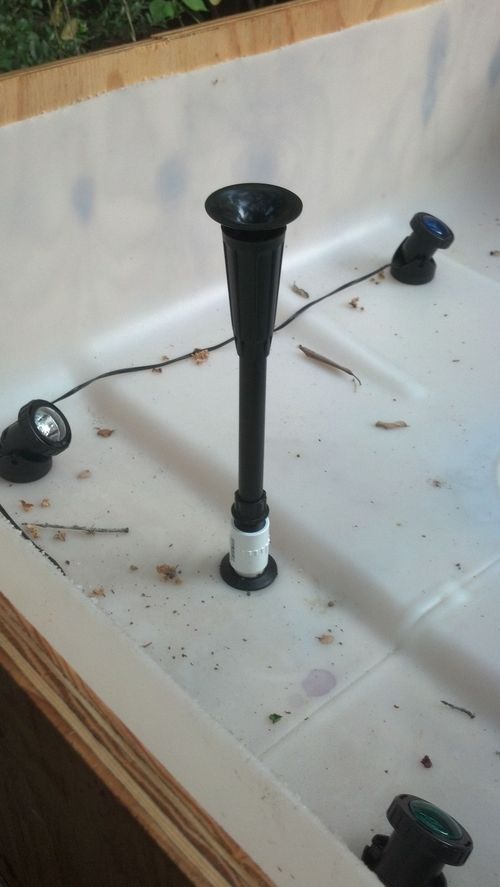
Of course, I had to bore a hole in the wooden box too. I just bored the hole for the liner while it was in the box, and used the dent in the box underneath to guide a larger diameter holesaw to cut the box. Once the feed pipe was in place, I added a threaded adapter in the bed. This is so I can easily change over the bed. If it is in an aquatic garden configuration, I will have a small fountain nozzle attatched to help aerate the mini-pond. (the black things next to the nozzle in the picture are pond lights. Just for decoration :-> ) For an ebb-and flow bed, there will be an inverted "J" shaped spigot made of pvc fittings, that lets the water pour into the bed from just above the level of the grow media. (this keeps roots and growing media out of the feedline).

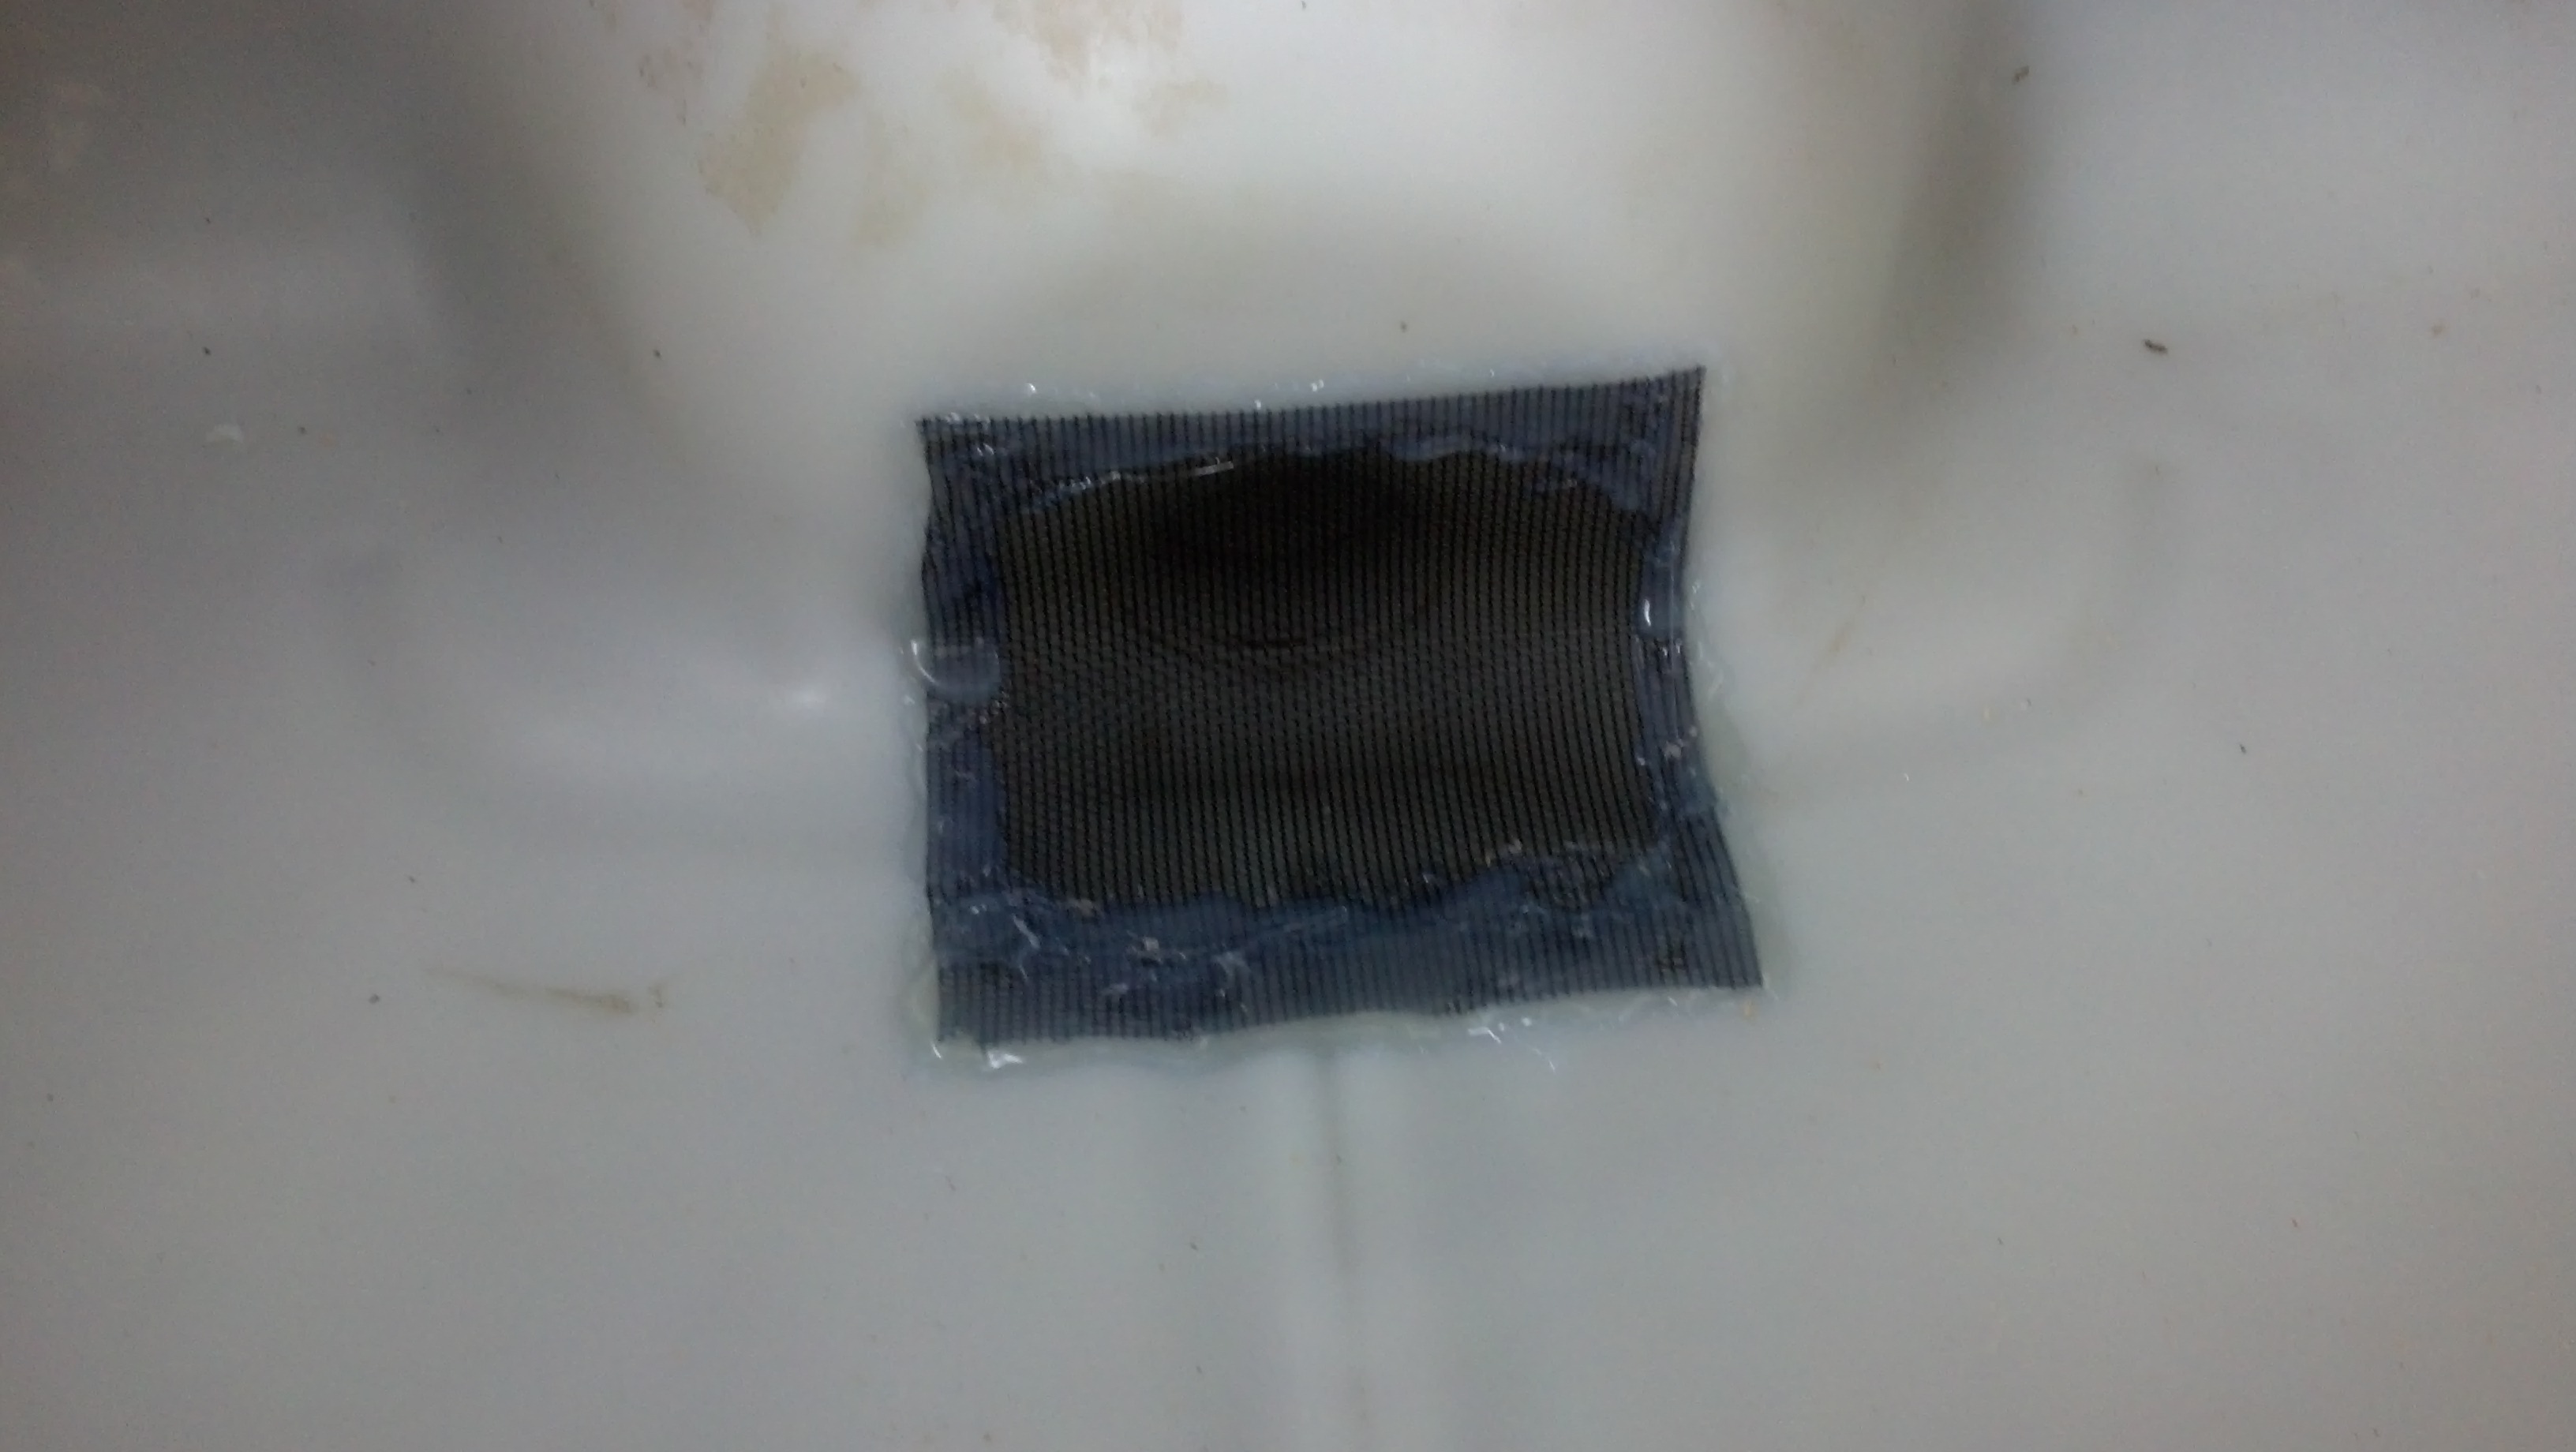
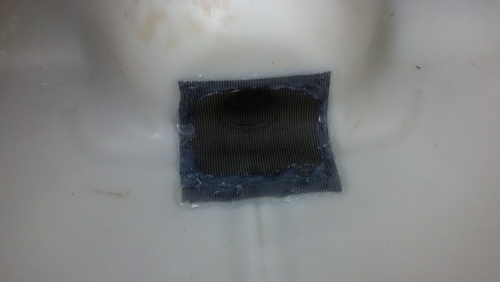
With the feedlines to the beds hooked up and in place, I needed to do a little work on the fishtanks. First, as I mentioned in my first post in this series, I need to put some screening over the pipe connecting the two fishtanks. I am going to have different kinds of fish in each of the tanks, and I want the fish to stay in their proper tanks. For this, I am using regular fiberglass windowscreening. ( not metal. Steel will corrode, and aluminum can leach into the water,and is bad for the fish.) This is simple, I just glued it over the opening in the bottom of each tank using hot-melt glue. (When working on these kind of systems, hot-melt glue is your friend. If you need to glue something down, and you need soemthing that is water-resistant, but won't be toxic to the fish, your choices are basically hot-melt (which is just a plastic which is sticky when molten) or clear silicone.) An odd bit that happened while I was doing this, I had glued down the screen in one tank, and was about to seal up the other side in the other tank, when I looked into the pipe and saw eyes looking back at me! A lizard had apparently decided that the pipe made a nice home. I had to wait intil he left the pipe and block the opening with a rag, then catch him (he couldn't get out of the steep walled plastic tank) and release him on a nearby bush. After the lizard induced interruption, I finshed up the other side:
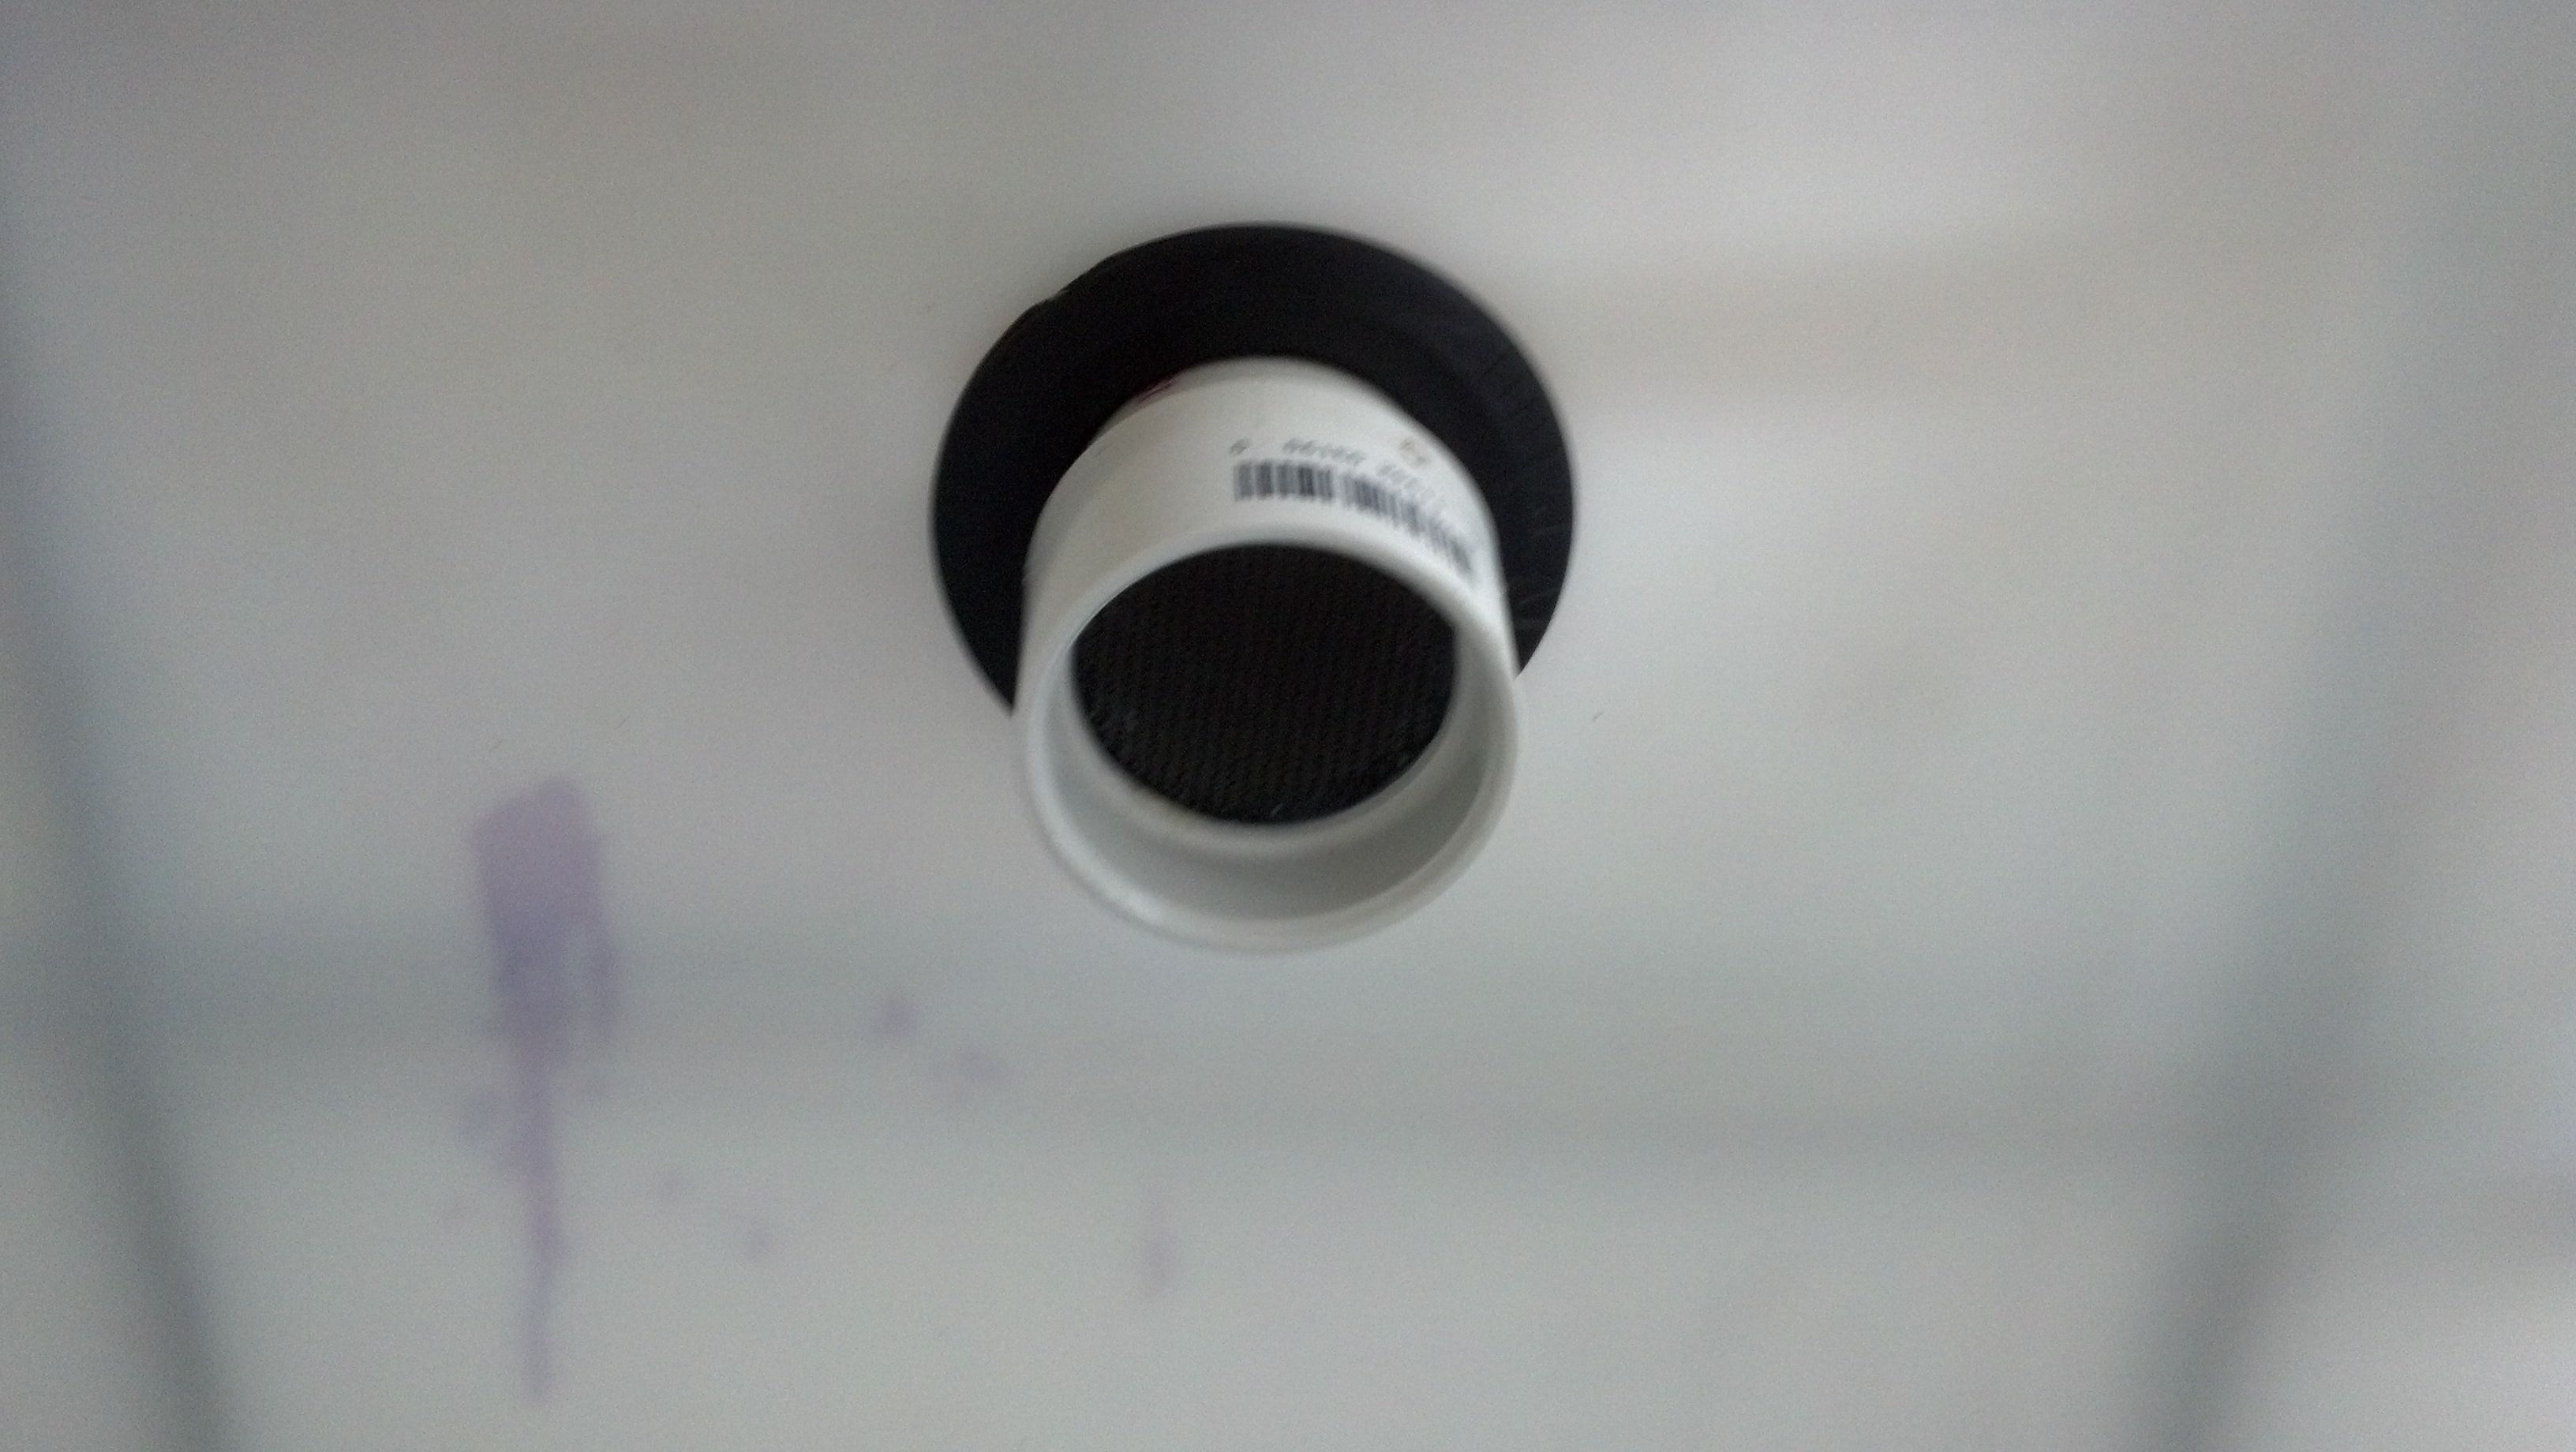
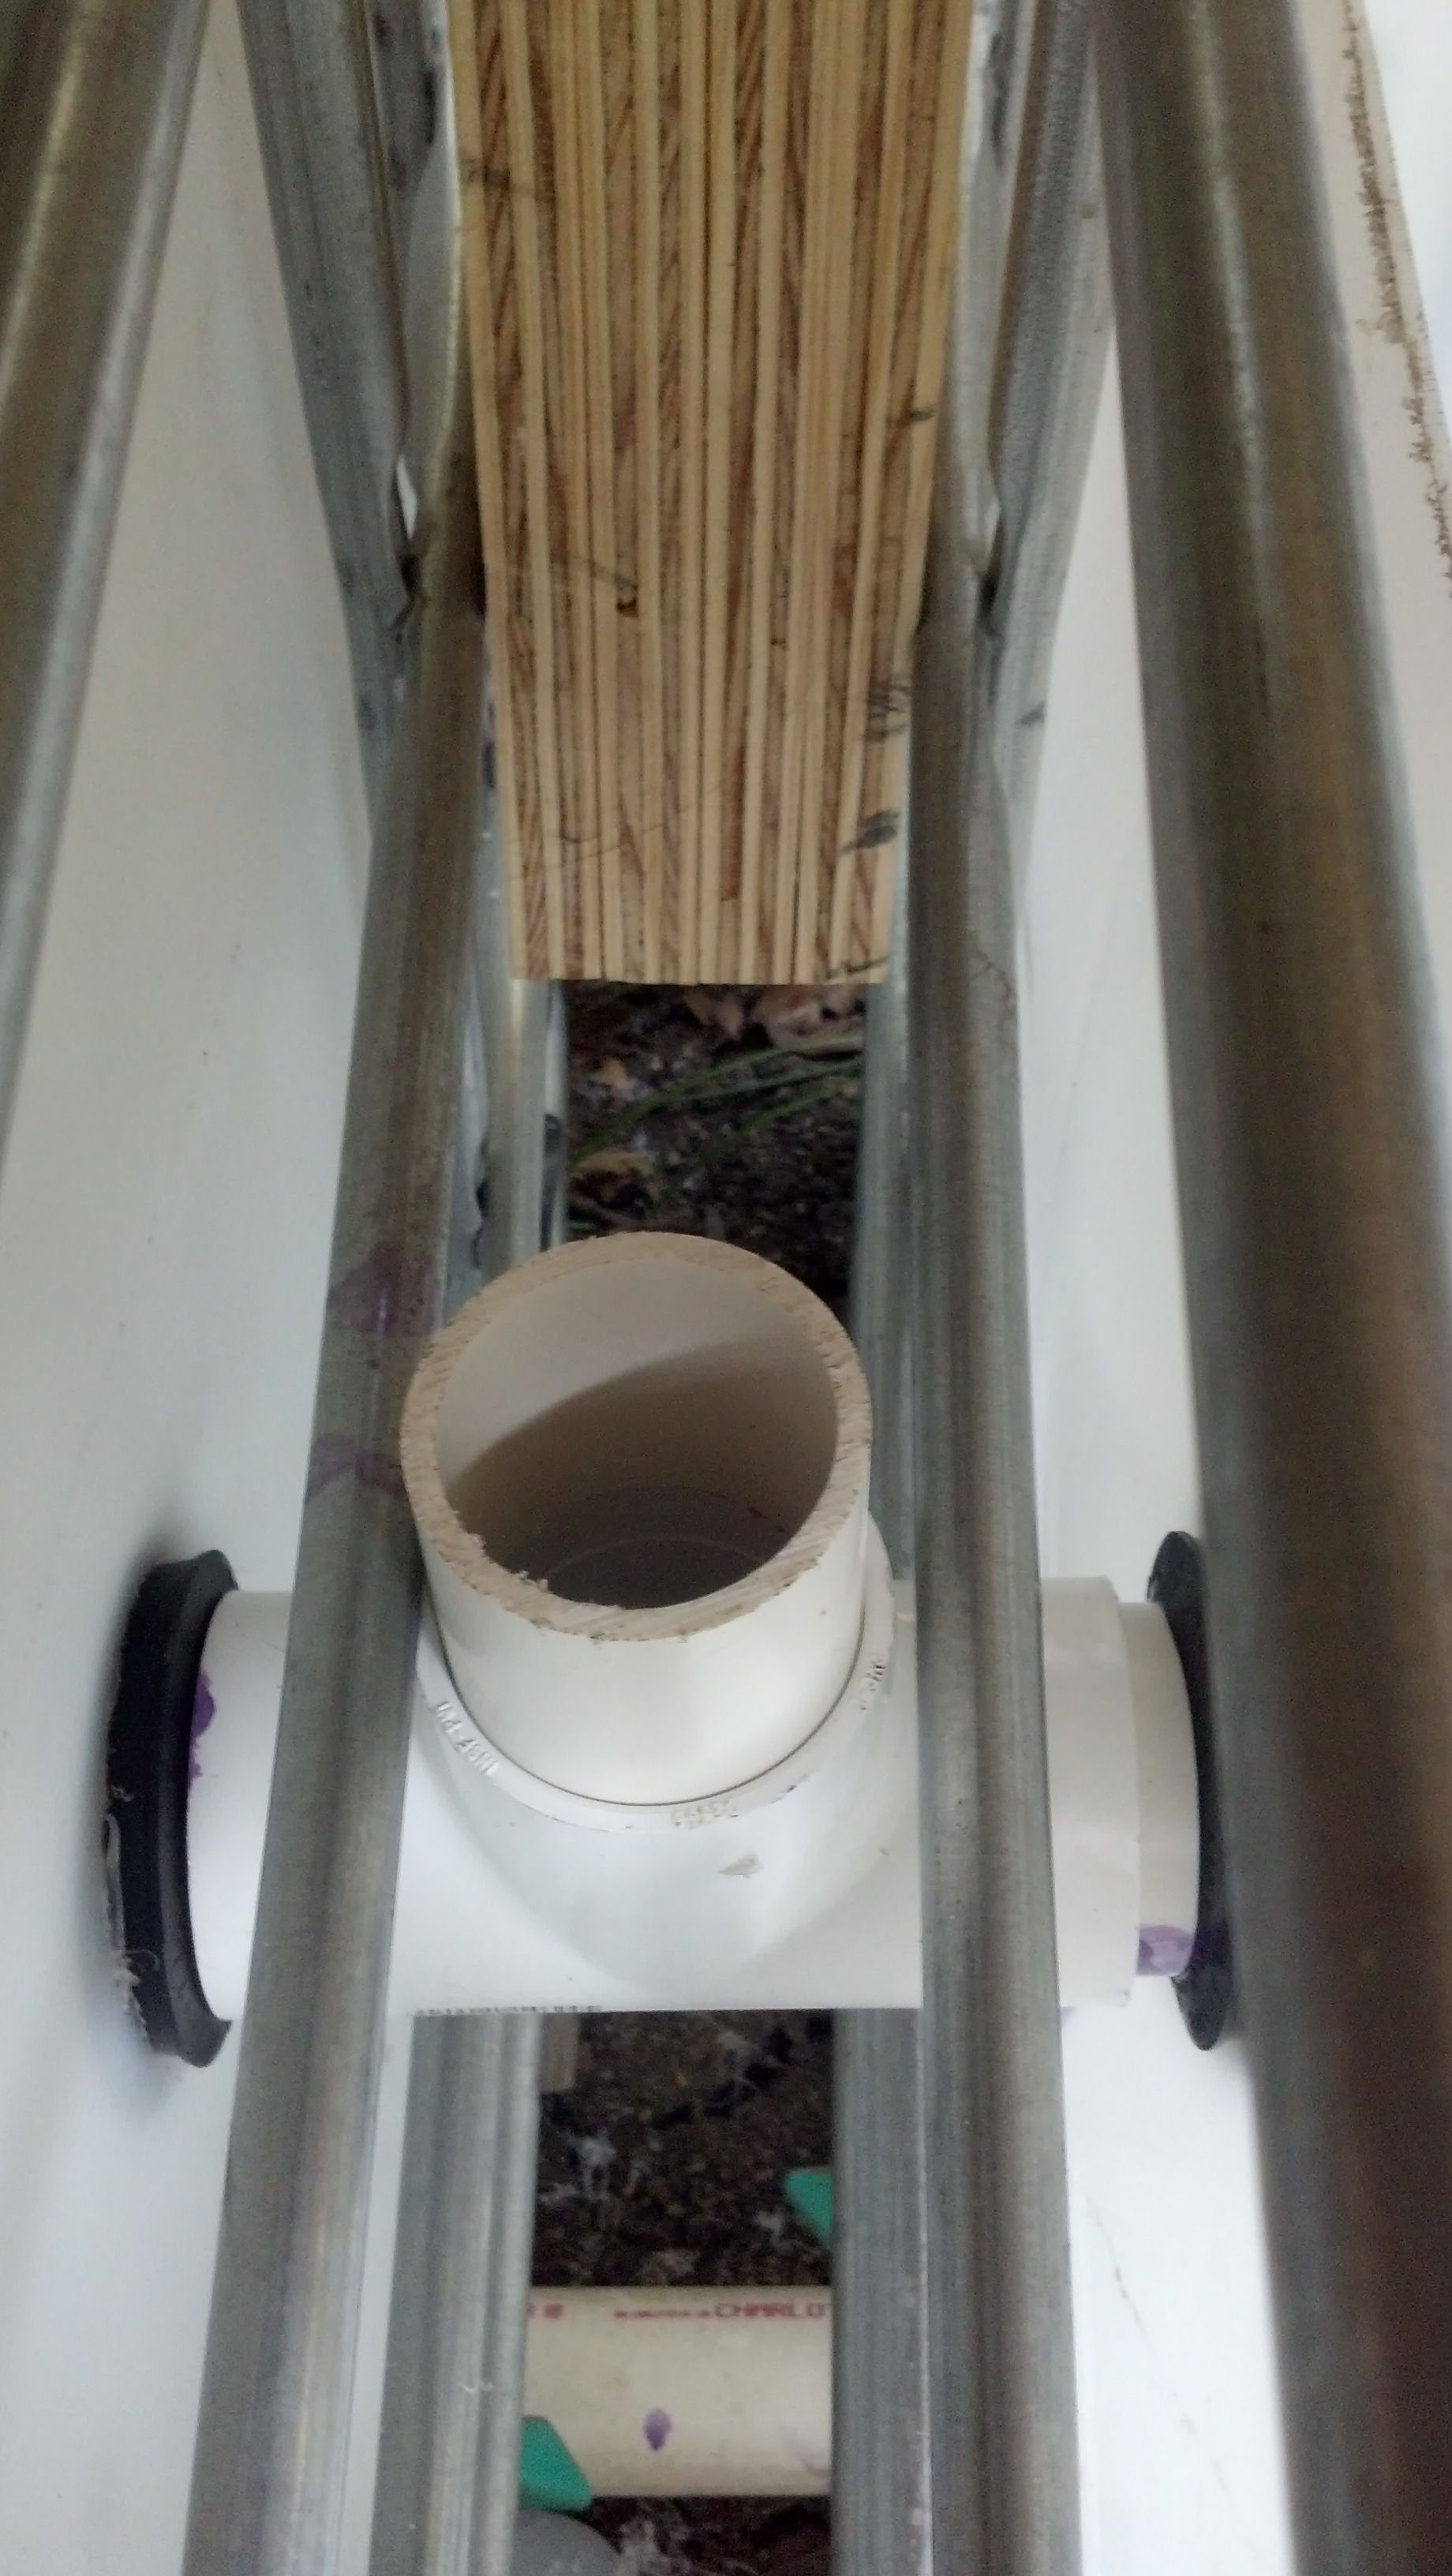
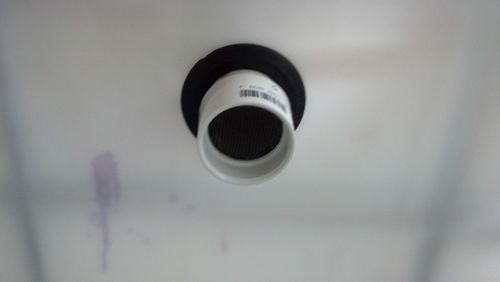
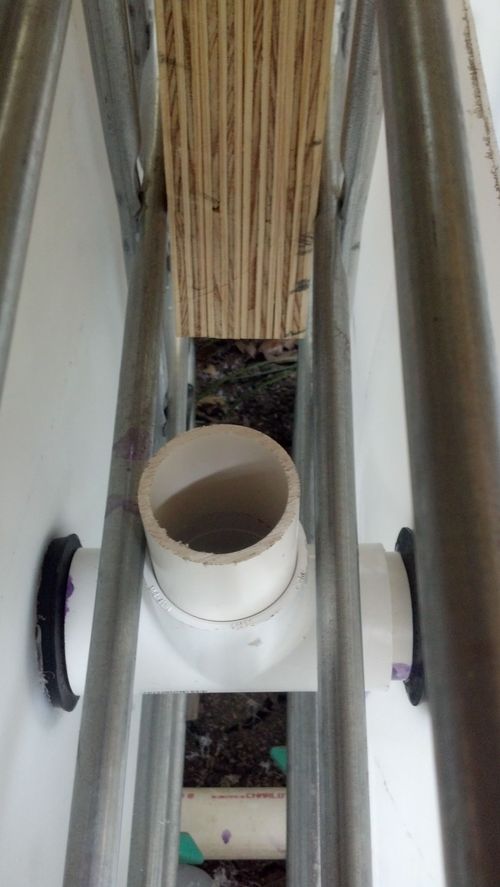
Finally, I needed to add an overflow outlet to the tanks. Since the system is outside, if it rains, the beds will catch rainwater and the level in the tanks will rise. I don't want the tanks overflowing over the edges, and possibly washing fish out of the tank. For the overflow I put a 2 inch T fitting between the tanks, with a short length of 2 inch pipe sticking into each tank through a uniseal (While the 3/4 inch seals I used on the beds were easy enough to use, getting the pipe through the 2 inch seals on the tanks was an incredible pain. Pushing the pipe hard enough to get it through kept popping the seals out of the tank wall. :P ) The pipe ends in each tank were covered with a circle of fiberglass screening (I just traced the outside of a piece of pipe to cut out the screening), then I pushed a coupler fitting over each end. The couplers have a ridge in the middle that will help hold the screening in place (I also tacked it in place with hot-melt glue) The third leg of the tee fitting is just a length of pipe pointing up (it's not glued in place, so I can change it easily.) the length of this pipe sets the maximum water level in the fishtanks (I have it about 2 inches below the lip of the tanks) If the water level starts to go above that, the water will overflow onto the ground inbetween the tanks.
That takes care of the plumbing. Next up: More aeration, plus heat and light.